CorelDRAW is a powerful vector graphic design software that’s widely used for creating illustrations, layouts, and image corrections. Whether you’re working on Windows or macOS, this tool is an excellent choice for both professionals and beginners. In this tutorial, we’ll walk you through everything you need to know to get started with CorelDRAW, from setting up your first project to applying advanced vector effects.

Getting Started with CorelDRAW
When you first open CorelDRAW, you’re greeted with a welcome screen. This screen offers various tutorials, tips, news, and access to your existing documents. If you’re ready to start your first project, click on New Document. You’ll be presented with two options:
- Blank page: Start from scratch with a clean canvas.
- Template: Use pre-designed templates to kickstart your work.
Configuring Your Document Settings
If you choose to create a blank document, you’ll need to configure some settings:
- Preset: Choose a document type (e.g., letter, poster, web).
- Name: Name your project.
- Number of Pages: Specify how many pages you need.
- Color Mode: Choose between RGB or CMYK based on your project needs.
- Page Size: Define the dimensions of your document.
- Orientation: Choose portrait or landscape orientation.
- Resolution: Set the resolution for your work.
Once you’re happy with your settings, click OK to create your new document. The document will open in the center of your workspace, with a tab at the top and page navigation at the bottom.
Understanding the CorelDRAW Interface
- Main Toolbar: Located on the left, this toolbar contains a variety of drawing and modification tools. Some buttons contain multiple tools, accessible by clicking and holding.
- Options Bar: At the top, this bar provides context-sensitive options based on the tool or object you have selected.
- Panels: On the right, you’ll find panels such as the Property Panel and Learn Panel, which offer helpful tips and options for your selected tools. You can access additional panels through the Window > Dockers menu.
If you prefer a dark interface, you can customize it by going to Tools > Options > Customization.
Drawing Vectors in CorelDRAW
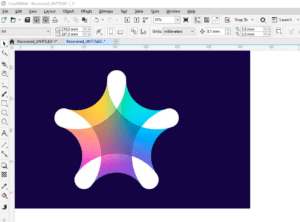
Vectors are mathematical objects that retain their quality no matter how much you resize them. This makes vectors ideal for logos, drawings, and other designs that require scalability.
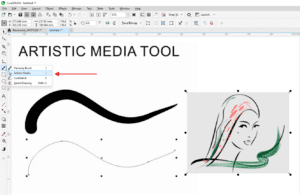
Basic Drawing Tools
- Freehand Tool: Draw freeform lines by clicking and dragging on the canvas. You can adjust trace width and style from the options bar.
- Polyline Tool: Create straight segments by clicking multiple times or curves by clicking and holding. Double-click to finish drawing.
- Three-Point Curve Tool: Create arcs by clicking, dragging, and then clicking again.
Advanced Drawing Tools
- Bezier and Pen Tools: Draw curves by clicking and holding to control tangents. With these tools, you can precisely control the curvature of your design.
- Shape Tools: Use various shape tools to create regular shapes (rectangles, circles) or special shapes available in the Common Shapes menu.
Managing Vector Drawings
- Pick Tool: Use this tool to select and manipulate objects. Click and drag to move objects, use black nodes to resize, and click again to rotate or skew.
- Editing Outlines and Fills: You can adjust the appearance of your vector objects by modifying the line color, width, and style in the Outline section. For fills, you can choose between uniform colors, gradients, or even patterns.
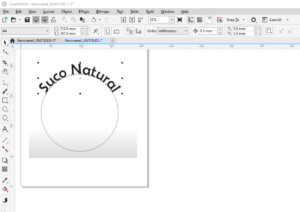
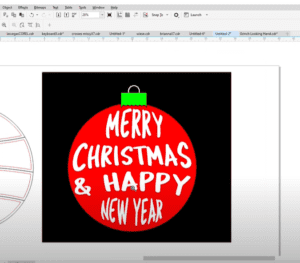
Adding Text in CorelDRAW
To add text, enable the Text Tool and click and drag to define a text box. Start typing within the box. If the text box turns red, it means some of the content is hidden—simply resize the text box to reveal the hidden text.
You can edit the text’s appearance (font, size, style) and adjust paragraph settings (alignment, indentation) using the options in the properties panel or the top bar.
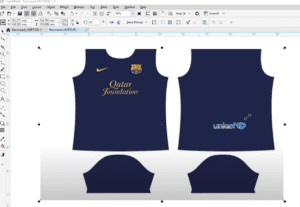
Working with Bitmap Images
CorelDRAW can also handle bitmap images, which are made up of pixels and can lose quality when resized. To insert a bitmap image:
- Go to File > Import and select the image you want to use.
- Click and drag to place the image on the canvas.
You can move and resize the image with the Pick Tool, and crop it with the Shape Tool. To apply effects or corrections to the entire image, you may want to convert it into a vector object first by using Trace Bitmap.
Applying Vector Effects
CorelDRAW allows you to apply various advanced vector effects to your designs:

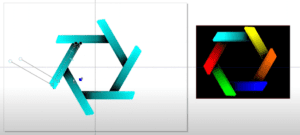


- Shadows and Contours: Use the Effect Tool to apply shadows, contours, or extrusions to your objects.
- Extrusion: Add 3D depth to an object by adjusting the direction and length of the extrusion. You can further customize the appearance of extrusions by adjusting colors and lighting from the options bar.
Managing Layers and Objects
To organize your drawings, use the Objects Panel. Here, you can manage layers and individual objects, hiding or locking them as needed. You can even group objects to apply effects or transformations to multiple items at once.
Saving and Exporting Your Project
Once you’ve completed your project, go to File > Save As to save your document in CorelDRAW’s CDR format, which allows for future editing. Alternatively, you can export your project in other formats like PDF (for print) or SVG (for web) to maintain high quality with minimal file size.
By following these steps, you’ll be able to create and manage your first vector project in CorelDRAW. Happy designing!
Hashtags: #CorelDRAW #GraphicDesign #VectorArt #DesignTutorial #ImageEditing #CorelDRAWBeginners #Illustration