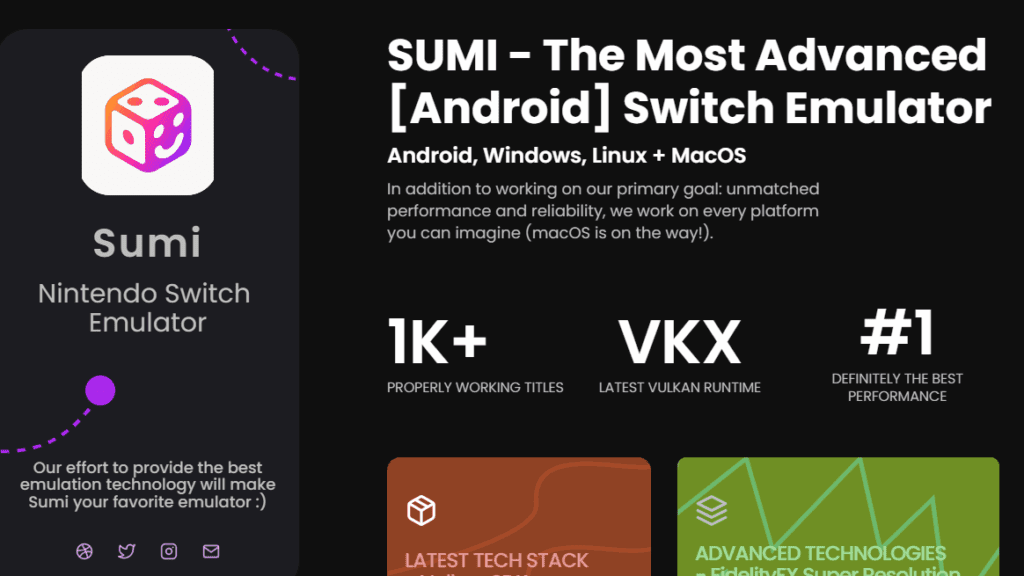
If you’re a fan of emulation and want to play Nintendo Switch games on your Windows PC, there’s a new option available—Sumi, an experimental emulator forked from Sudachi, which itself is a fork of Yuzu. Sumi focuses on delivering enhanced performance for Android, but it also has a developing Windows version worth exploring.
In this detailed article, you’ll learn how to set up and configure the Sumi Switch Emulator on Windows, add your games, configure controllers, and optimize settings for the best performance.
⚠️ Disclaimer
This article is for educational purposes only. We do not support or encourage piracy. Links to download Nintendo Switch games (ROMs), keys, or firmware files are not provided. Users should dump these files legally from their own devices.
What is Sumi Emulator?
Sumi is a third-generation emulator forked from Sudachi (which itself is a fork of Yuzu). It is under active development and offers better support for Android devices, while also being made available on Windows. Since it is still in early development, some instability or crashes may occur during gameplay.
Step-by-Step Guide to Setting Up Sumi on Windows
✅ Step 1: Download Sumi Emulator
- Visit the official Sumi GitHub page.
- Scroll down to the Assets section.
- Download the file labeled
win-x64-fix.zip(this is the stable version with fixed controller input issues).
✅ Step 2: Extract the Emulator Files
You can extract the downloaded zip file using:
- Windows Extract Tool: Right-click → Extract All
- 7-Zip (Recommended): Right-click → Show More Options → 7-Zip → Extract to sumi\
Once extracted, you can delete the original zip file.
Step 3: Prepare Your Game Files
Your Switch games may come in compressed formats. Here’s how to handle them:
- Place your NSP or XCI files in a dedicated folder.
- Extract compressed games using 7-Zip to get
.nspor.xcifiles. - Similarly, extract any DLC or update files into their own folders.
Important: Do not attempt to run games directly from compressed archives.
Step 4: Add Decryption Keys and Firmware
Sumi needs two essential components to run games:
- prod.keys
- title.keys
- Firmware files
Place them in a folder and extract the firmware archive.
❌ We cannot provide links to these files. Please obtain them legally.


Installing Keys and Firmware:
- Open the
sumi.exefile. - Navigate to Tools > Install Decryption Keys → Select
prod.keys. - Then go to Tools > Install Firmware → Select the firmware folder.
- You can check the installed firmware version at the bottom right.
Step 5: Add Games to the Emulator
- On the main screen, double-click on “Add a new folder”.
- Navigate to your Switch ROMs folder and click Select Folder.
Now your games will appear in the library. If the ROM file already includes DLC or updates, they will appear automatically in the add-ons column.
Step 6: Install DLC and Update Files
To manually install DLCs:
- Go to File > Install Files to NAND.
- Select the DLC folder.
- Highlight all files, ensure they’re checked, and click Install.
Use the same process for installing game updates.
Step 7: Configure Graphics Settings
- Go to Emulation > Configure > Graphics.
- Set API to Vulkan for best performance.
- Ensure your GPU is selected (not your CPU).
- Set V-Sync to On.
- Adjust resolution:
- Left = handheld mode
- Right = docked mode (default)
- For 4K: Set it to 2160p
- Lower the resolution if you face performance issues
Advanced Graphics Settings:
- Enable asynchronous mode (if your PC has 6+ cores).
- Turn on shader building to reduce stuttering during gameplay.
Step 8: Set Up Controller Support
Sumi supports Xbox, PS5, and Switch Pro controllers.
- Plug in your controller.
- Under Controls > Input Device, select your controller (e.g., Xbox One Controller).
- Button mapping will auto-fill, but you can customize it.
- Save your profile under a name like “Xbox”.
Step 9: Customize Hotkeys and Per-Game Configs
Hotkeys:
- Go to General > Hotkeys to view or change shortcuts (e.g., F11 for fullscreen).
Per-Game Settings:
- Right-click a game → Properties.
- Customize graphics, audio, controls, and add-ons per game.
Launch Your Game
Simply click on any game to launch it. Use F11 to switch to fullscreen mode.
Final Thoughts
While Sumi is still a work-in-progress, it offers a promising alternative for playing Nintendo Switch games on Windows. With proper setup and configuration, you can enjoy high-resolution gameplay with controller support and added DLCs.
Stay tuned to the GitHub page for future updates as development progresses.
🔗 Useful Links
- Sumi GitHub Page: https://github.com/EggShenDev/sumi
- 7-Zip (for extraction): https://www.7-zip.org/
🏷️ Tags
sumi emulator, switch emulator windows, yuzu fork, sudachi emulator, install switch emulator, play switch games on pc, emulator configuration, Nintendo Switch ROMs, DLC installation, firmware setup
📢 Hashtags
#SumiEmulator #SwitchEmulator #WindowsGaming #NintendoSwitchEmulator #EmulationSetup #GamingPC #EmulatorGuide #Sudachi #YuzuFork #7Zip #SwitchGamesOnPC #ROMSetup