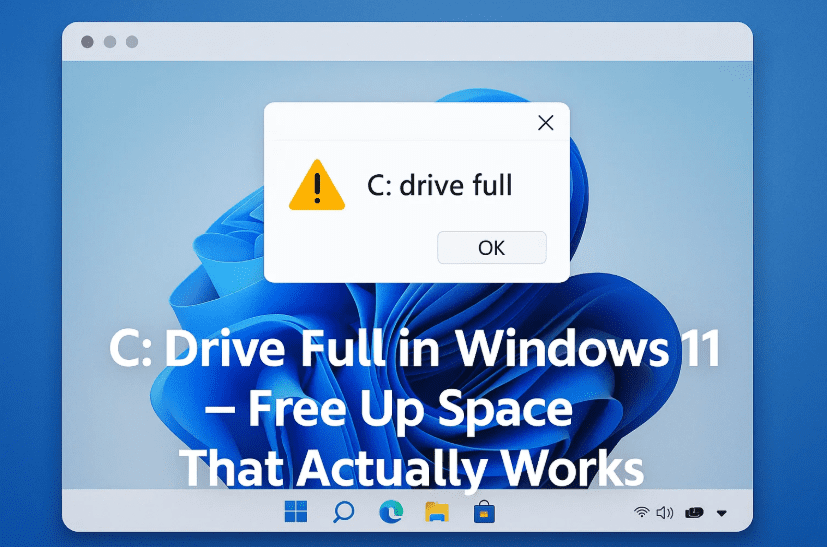
If you’re using Windows 11 and seeing that red warning bar on your C drive, don’t worry — you’re not alone. Many users face the issue of their system drive (C:) getting completely filled over time. Even if you have hundreds of gigabytes of storage, the C drive can fill up surprisingly fast with temporary files, software updates, duplicate files, and unused applications.
In this article, we’ll walk you through all the essential steps to clean up your C drive manually without deleting any important files. These are Windows 11-specific steps, but most will work on Windows 10 as well. By the end, you’ll see how much space you can recover safely.
Let’s get started by understanding where your space is being used, and then we’ll clean it up section by section.
Step 1: Start with Recycle Bin Cleanup
Before doing anything else, let’s begin with the easiest step — emptying the Recycle Bin.
When you delete a file normally (without pressing Shift + Delete), it doesn’t get permanently deleted. It goes into the Recycle Bin and continues to take up space.
Here’s how to clean the Recycle Bin:
- Click the Start menu and type Recycle Bin in the search bar.
- Open the Recycle Bin.
- Review the files. If you’re sure you don’t need them, select all (Ctrl + A), right-click, and choose Delete.
- Confirm deletion.
🔒 Note: Once deleted from the Recycle Bin, the files cannot be recovered through normal means.
Step 2: Use Windows 11’s Built-In Storage Analyzer
So far, so good! Now let’s move on to a more detailed analysis of your storage using the built-in Storage settings in Windows 11.
Steps to check disk usage:
- Press
Windows + Ito open Settings. - Go to System → Storage.
- Let it calculate your storage usage (it may take a few seconds).
- You’ll see categories like Installed Apps, Temporary Files, Desktop, Videos, and Other.
This gives a clear picture of which categories are consuming the most space on your C drive.
Step 3: Delete Temporary Files Safely
Temporary files are just like digital dust. If you haven’t cleaned them in a while, they can build up and consume tens of gigabytes. In this example, over 84 GB of temporary files were found!


Let’s clean them properly:
- In the Storage settings, click on Temporary Files.
- Let the list load completely.
- Review the items. Uncheck Downloads (if you haven’t reviewed its contents).
- Check the rest:
- Windows Update Cleanup
- Thumbnails Cache
- Delivery Optimization Files
- Temporary Internet Files
- Antivirus Cleanup Files
- Device Driver Packages
- Click Remove Files.
- Confirm the action.
💡 Tip: If you have already reviewed your Downloads folder, you can check that box as well to save the most space.
Step 4: Check and Clean System Restore Points
Windows often creates restore points automatically. These are useful for system recovery, but older restore points can consume a significant amount of space.
Here’s how to delete them:
- Type
Disk Cleanupin the Start menu and open it. - Choose C drive and click OK.
- Now click on Clean up system files.
- Again choose the C drive and wait for the scan.
- Go to the More Options tab.
- Under System Restore and Shadow Copies, click Clean Up.
This will delete all but the most recent restore point.
⚠️ Warning: Only do this if your system is working fine and you don’t need to roll back to a previous state.
Step 5: Uninstall Unused Applications
Many users have applications installed that they never use. These unused apps silently occupy gigabytes of space.
Let’s remove them safely:
- Open Settings → Apps → Installed Apps.
- Scroll through the list.
- If you see an app you haven’t used in months, click on the three dots
...next to it and choose Uninstall. - Follow the on-screen steps.
Repeat this for all apps that are unnecessary. This is one of the easiest ways to recover major chunks of storage.
Step 6: Remove Duplicate Files Using Microsoft PC Manager
Now that we’ve cleared the obvious clutter, let’s address something more hidden — duplicate files.
Even if you’re careful, duplicate images, documents, and downloads pile up over time. Microsoft offers a safe, free tool for this: Microsoft PC Manager.
What is Microsoft PC Manager?
It’s an official utility from Microsoft to help manage system performance, clean up junk, free up memory, and detect duplicates — all in one dashboard.
👉 Visit the official Microsoft PC Manager page
Steps to use it:
- Go to the above website and download PC Manager.
- Install and launch it.
- On the home screen, click Storage Management.
- Select Duplicate Files or Large Files as needed.
- Set the drive to C: drive and begin scanning.
- After scanning:
- You can view all duplicate files by type (documents, videos, images).
- Select the files you don’t need and click Delete.
✅ Bonus Tip: PC Manager also offers a Boost button that clears RAM and background junk for better speed.
Step 7: Check Downloads Folder Manually
Earlier we skipped deleting files from the Downloads folder. Let’s do that now — manually.
- Open File Explorer (
Windows + E). - Go to This PC → Downloads.
- Sort files by Size or Date Modified.
- Delete anything you don’t need, especially large files like installers, videos, or backups.
Don’t forget — some files in Downloads may be important, so don’t bulk delete without checking.
Step 8: Final Clean-Up and Refresh
Once all the steps are complete:
- Restart your PC once to let the changes take effect.
- Open File Explorer and right-click on C drive → Properties.
- See the updated storage space.
In our example, the space improved from 33 GB free to 55.6 GB, and we didn’t even delete everything — just optimized using safe steps.
Frequently Asked Questions (FAQs)
Q1. Will deleting temporary files affect my apps or system?
A: No. Temporary files are not critical. Windows and apps recreate them as needed.
Q2. Should I delete files from Downloads?
A: Only after reviewing. Downloads can contain installers, documents, and media you may need later.
Q3. Is it safe to remove restore points?
A: Yes, as long as your system is stable. Keep at least the most recent one.
Q4. Can I trust Microsoft PC Manager?
A: Yes. It’s developed and maintained by Microsoft and safe to use for cleanup.
Q5. How often should I clean my C drive?
A: At least once every 2-3 months, or when your C drive starts getting full.
Final Thoughts
A full C drive isn’t just an inconvenience — it can slow down your system, prevent updates, and cause app crashes. Thankfully, Windows 11 provides excellent tools to analyze and clean your system drive without installing third-party bloatware.
From removing temporary files and uninstalling unused apps to using Microsoft PC Manager for duplicate cleanup, every step we discussed is safe and beginner-friendly.
Take a few minutes every couple of months to perform this routine, and your PC will thank you with better speed, stability, and longevity.
Tags: Windows 11 cleanup, free up C drive, Microsoft PC Manager, disk cleanup, uninstall apps, delete temporary files, system restore cleanup, duplicate file remover
Hashtags:
#Windows11 #CDRiveCleanup #PCMaintenance #MicrosoftTools #FreeUpSpace #DiskCleanup #DuplicateFiles #PCTips #StorageOptimization
Disclaimer:
This article is intended for educational purposes only. The steps outlined here are safe for general users. However, always double-check your data before deleting any files. We do not take responsibility for any data loss due to misuse of these methods.


