If you’re using Windows 10 and facing slow performance, lagging issues, poor gaming performance, or FPS drops, you’re not alone. The good news is that you can improve your Windows 10 performance by applying these five settings. Follow this step-by-step guide to resolve the issues and enhance your system’s speed.
Step 1: Disable Windows Tips and Suggestions
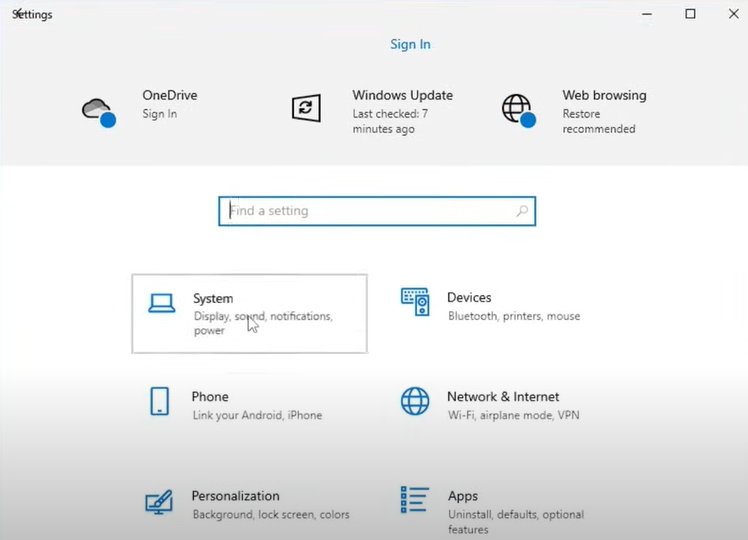
- Open Windows Settings: Right-click the Windows icon in the taskbar and select Settings.
- Go to System Settings: Click on the System option in the menu.
- Find Notifications and Actions: In the left-side menu, click Notifications and Actions.
- Turn Off Windows Tips: Scroll down until you see the option “Get tips, tricks, and suggestions as you use Windows”. Uncheck this box. If you don’t want other notifications, you can disable them here as well.
Step 2: Clean Up Temporary Files
- Open Storage Settings: In the same Settings window, find Storage in the left-hand menu.
- View Temporary Files: Here, you’ll see a list of categories occupying space on your system. Click on Temporary Files.
- Remove Unnecessary Files: You’ll see options such as Downloaded Items, Recycle Bin, etc. If you don’t need these, check the boxes and click Remove Files.
Step 3: Adjust Privacy Settings
- Go to Privacy Settings: Right-click the Windows icon, go to Settings, and click on Privacy.
- Disable Windows Permissions: Under Windows Permissions, disable unnecessary features like Speech, Inking, and Typing Personalization and Diagnostic Feedback.
- Control App Permissions: Scroll down to App Permissions. If you don’t use certain features like Location, Camera, or Microphone, disable them here. Other apps such as Contacts, Calendar, Phone Call, and Call History can also be disabled to free up resources.
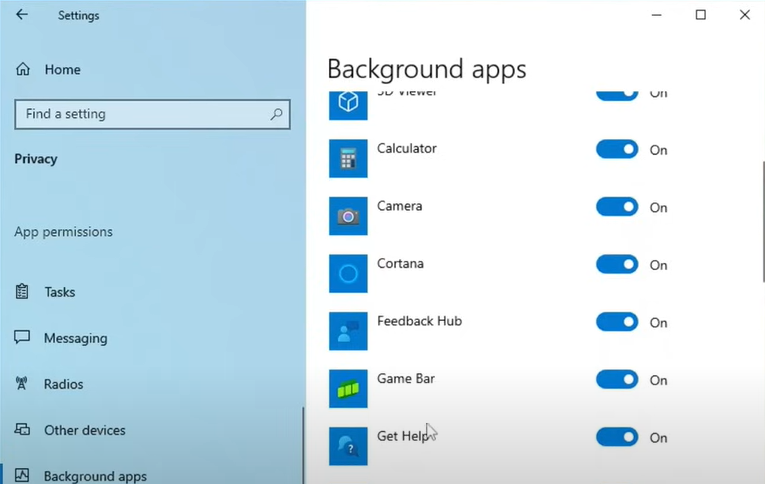
- Turn Off Background Apps: Go to Background Apps and disable all the apps you don’t use. This will stop unnecessary applications from running in the background and consuming resources.
Step 4: Disable Transparency Effects
- Go to Personalization Settings: Click on Personalization from the settings menu.
- Disable Transparency Effects: Select Colors from the menu and turn off the Transparency Effects option. This will free up resources used for visual effects.
Step 5: Manage Startup Programs
- Open Task Manager: Right-click the Windows icon and select Task Manager.
- Disable Unnecessary Startup Apps: Go to the Startup tab. Disable any third-party applications that you don’t need to start with Windows, like OneDrive or Microsoft Edge. This will help your computer boot faster and improve performance.
Step 6: Optimize Virtual Memory
- Adjust Virtual Memory Settings: Open the Start menu, type sysdm.cpl and press Enter. In the System Properties window, go to the Advanced tab and click Settings under Performance.
- Select Best Performance: In the Performance Options window, select “Adjust for best performance”. Check only the options Show thumbnails instead of icons and Smooth edges of screen fonts. Click Apply.
- Increase Virtual Memory: Go to the Advanced tab again and click Change under Virtual Memory. Uncheck “Automatically manage paging file size”, and select Custom Size. Enter the values for Initial size and Maximum size. The recommended initial size is 1.5 times your RAM, and the maximum size is 3 times your RAM.
- For example, if you have 6 GB of RAM, your initial size would be 9,216 MB, and the maximum size would be 18,432 MB.
- Apply the Settings: Click Set, then OK.
Step 7: Delete Temporary Files
- Delete Temp Files: Press Windows + R to open the Run dialog box. Type temp and press Enter. Select all files (Ctrl + A) and delete them.
- Delete %temp% Files: Open Run again, type %temp%, and press Enter. Select all files and delete them.
Step 8: Scan for Malware
- Download HitmanPro: Go to the HitmanPro website and download the 30-Day Free Trial.
- Run a Scan: Once downloaded, run the software and perform a one-time scan. This will detect any malware, infections, or tracking cookies slowing down your system.
- Delete Infections: After the scan completes, follow the on-screen instructions to delete any infections found.
Step 9: Restart Your PC
Finally, restart your computer. You should notice a significant improvement in your system’s performance and a reduction in lagging and slowdowns.
Conclusion
By following these simple steps, you can significantly boost your Windows 10 performance, reduce lag, and ensure smoother gaming experiences. If this guide helped you, please like, share, and subscribe for more tips and tutorials. If you have any questions, drop them in the comments below!
#PerformanceBoost #WS1 #WindowsOptimization #GamingPerformance #FPSDropFix #SystemTuning #Windows10 #Windows11 #LagFix #TechTutorial #PCOptimization #HitmanPro