If you’ve been struggling with poor or blurry video quality while recording using OBS Studio, you’re not alone. This article provides a step-by-step guide to optimize your OBS Studio settings specifically for recording. Whether you’re capturing gameplay, tutorials, or any desktop content, these settings will significantly improve your video output and fix any blurriness issues.
Step-by-Step OBS Settings for Clear Recording
1. Open OBS Settings
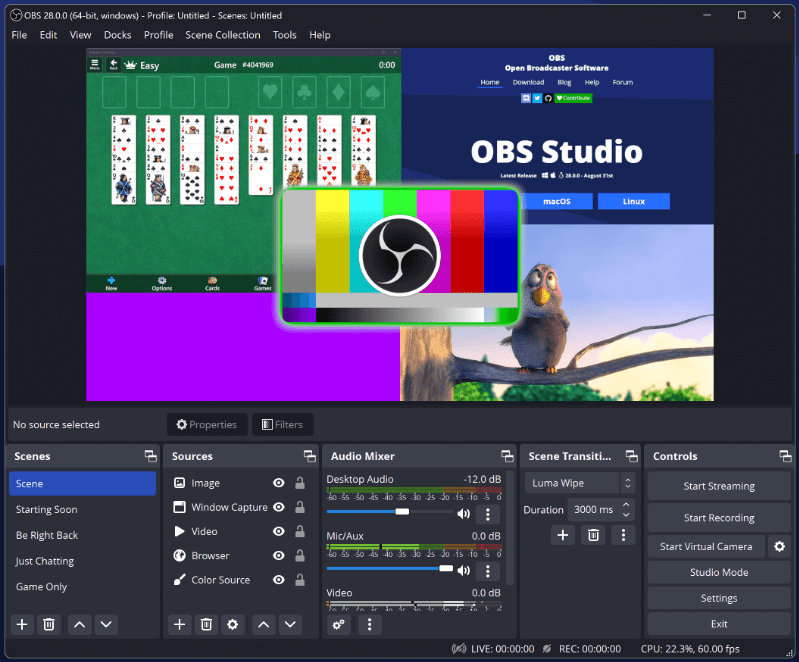
Launch OBS Studio and click on the Settings button on the bottom-right corner of the window.
2. Configure the Video Settings
From the left-hand menu, click on Video.
- Base (Canvas) Resolution: Set this to your monitor’s native resolution, usually 1920×1080 (Full HD) or 3840×2160 (4K), depending on your display.
- Output (Scaled) Resolution: Match this with your base resolution for the best quality.
- Common FPS Values: Set this to 60 FPS for smooth video playback.
How to check your screen resolution:
- Right-click on the Start menu > Click Settings
- From the left-hand menu, select System > Click Display
- Check your current display resolution under the Display resolution dropdown
3. Switch to Advanced Output Mode
In the left-hand menu, go to the Output section.
- At the top, change Output Mode from Simple to Advanced.
You can ignore the Streaming tab if you’re only focused on recording.
4. Adjust Recording Settings
- Recording Format: Choose MP4. It’s widely supported and offers high quality.
- Recording Path: Click Browse and set your preferred folder to save the recordings.
- Encoder:
- If you have an NVIDIA GPU, select NVIDIA NVENC H.264
- If using AMD, choose AMD HW H.264
- If neither is available, go with x264
- Audio Track: Select 1 or 2 depending on your setup. If you’re recording game, mic, and browser audio separately, enable multiple tracks.
- Audio Encoder: Set to FFmpeg AAC
5. Encoder Settings (Important for Quality)
Choose Between CBR and CQP
- CBR (Constant Bit Rate):
- Bitrate for 1080p: 16,000 – 18,000 kbps
- Bitrate for 4K: 24,000 – 25,000 kbps
- Higher bitrate = better quality but larger file size
- CQP (Constant Quality Preset):
- Lower CQP value = better quality
- Recommended for 1080p: CQP Level 15
Tip: Try CQP for better quality control if file size is not a constraint.
Additional Encoder Settings:
- Keyframe Interval: Set to 2 seconds
- Preset: Choose Quality or Slower Better Quality
- Profile: Set to High
- Max B-frames: 2
- Psycho Visual Tuning: Enable (check the box)
- GPU: Set to 0
- Rescale Output: Leave unchecked
- Automatic File Splitting: Leave unchecked
6. Update Your Graphics Driver
An outdated graphics driver can cause performance or recording issues.
To update:
- Right-click on the Start menu > Click Device Manager
- Expand Display adapters
- Right-click on your GPU (e.g., NVIDIA, AMD, or Intel)
- Select Update Driver > Search automatically for drivers
Alternatively, visit the manufacturer’s website:
Final Thoughts
By applying these settings in OBS Studio, you can record high-quality videos without blurry or pixelated output. This setup is perfect for content creators, educators, and gamers who want crystal-clear recordings with smooth playback.


OBS Studio is a powerful open-source tool for streaming and recording. You can download it from the official website here: https://obsproject.com
Tags
OBS Studio settings, clear video recording, fix blurry OBS recording, 1080p OBS setup, OBS CQP vs CBR, best bitrate OBS, update graphics driver, AMD, NVIDIA, x264, OBS recording optimization, tutorial
Hashtags
#OBSStudio #RecordingTips #FixBlurryVideo #HighQualityRecording #OBSBitrate #GamingRecording #VideoTutorials #TechGuide #NVIDIA #AMD #x264
Disclaimer
This article is intended for educational purposes only. System performance may vary depending on hardware configurations. Always test your settings with a short recording before starting important projects.


