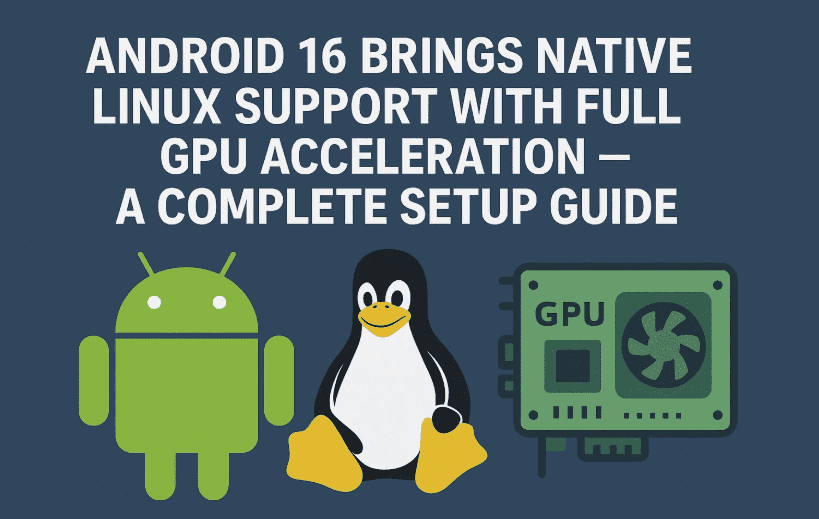
Android has reached a turning point. With Android 16, Google introduces a groundbreaking feature: native Linux support with GPU acceleration. This means your phone can now run a full Linux desktop environment, with GUI apps and smooth performance—right out of the box (at least if you’re on a Pixel).
This guide will walk you through everything you need to get started—from enabling the experimental Linux environment to running graphical apps with hardware acceleration. We’ll also answer common questions and discuss what this means for the future of Android computing.
Let’s begin!
🧠 Why Android 16’s Linux Support is a Big Deal
First, some background.
Google added the Android Virtualization Framework (AVF) back in Android 13, allowing for secure virtual machines on Android devices. But Android 16 takes it to a whole new level by enabling graphical Linux environments with full GPU acceleration, similar to what Chrome OS has supported for years.
You’re no longer limited to just command-line tools—you can run GUI apps, edit code with Gedit, and even launch full display servers like Weston on your phone.
👉 Learn more about AVF here:
🔗 Android Virtualization Framework (AVF) Overview – Google Developers
🔧 Step 1: Enable Developer Options and Linux VM on Android 16
So far we’ve discussed the “what” and “why”—now let’s move to the “how.”
This feature is currently limited to Google Pixel devices (like Pixel 6/6a/7/7a). If you have one running the Android 16 Canary build, here’s how to enable the Linux environment:
- Open Settings > About Phone
- Tap on “Build Number” 7 times to activate Developer Options.
- Go back to Settings > System > Developer Options
- Find “Linux Development Environment” and turn it on.
- Also enable “Disable Child Process Restrictions” for full app compatibility.
🛑 This feature is still experimental, and options may vary slightly depending on build versions.
📥 Step 2: Install Debian Linux via Terminal
Once enabled, your phone will now have a Linux terminal app installed automatically.


- Open the Terminal app.
- It will prompt you to download a Debian image (~500MB).
- Make sure you’re on Wi-Fi, and tap Install.
- Wait patiently while Debian sets up your environment.
You now have a Debian-based VM running inside your Android OS.
⚙️ Step 3: Configure Your Linux User and Packages
You’re almost ready to work with Linux on Android. Let’s configure the basic setup:
- Set a password for the default user (
droid):passwd droid - Update the package index:
sudo apt update - Install useful packages (example: neofetch, htop):
sudo apt install neofetch htop
Run neofetch to verify your OS and system info—it works beautifully.
🖥️ Step 4: Launch Linux GUI Using Weston
Let’s get into the fun part—running Linux GUI apps.
- In the Terminal app, tap the “Display” button on the top-right corner.
- This launches the GUI shell using a reference Wayland compositor called Weston.
weston
Weston is a lightweight window manager ideal for virtual environments. It provides a minimalist Linux GUI for launching apps like:
- Gedit
- Xterm
- And other GTK-compatible software
❗️You’ll notice the on-screen keyboard does not work in GUI mode. Use a Bluetooth keyboard + mouse for input.
Learn more about Weston here:
🔗 Weston (Wayland) – freedesktop.org
⚡ Step 5: Enable GPU Acceleration
Initially, Weston runs using CPU rendering—which works, but is a bit sluggish. To unlock GPU rendering, follow this exact method:
- Close the Terminal
- Open the TMX File Manager App
- Navigate to your SD card or internal storage
- Run these commands in the terminal:
cd /sdcard mkdir linux cd linux touch vglrenderer - Reopen the Linux Terminal
You should now see a toast notification:
VGL enabled
That means VirtualGL (GPU rendering) is now active, and your GUI experience will be smoother, faster, and more responsive.
Learn more about VirtualGL:
🔗 https://virtualgl.org/
🎨 What Works Well (and What Doesn’t—Yet)
✅ Works:
- CLI tools (bash, apt, nano, htop, neofetch)
- Weston GUI terminal
- Gedit (text editor)
- GPU acceleration for basic rendering
- Multiple terminal windows with no lag
❌ Doesn’t Work Well (Yet):
- Heavy apps like GIMP, Blender, or Krita
- On-screen keyboard in GUI
- Desktop environments like GNOME or KDE (not stable yet)
As of the Canary build, it’s still early days. But performance improvements are visible, and Google is clearly investing in this direction.
❓ Frequently Asked Questions
Q: Can I install Ubuntu instead of Debian?
Not officially. The current setup only supports Debian, but advanced users may attempt Ubuntu through chroot or other manual methods.
Q: Does this feature work on other phones?
No, this is currently limited to Google Pixel devices with Android 16 (Canary builds). Google hasn’t released this to OEMs like Samsung or Xiaomi yet.
Q: Is this the same as Termux or UserLAnd?
No. Termux and UserLAnd use containers or chroot. This is a true virtual machine with hardware acceleration via AVF.
Q: Is there a full desktop environment?
Not yet. You can run Weston as a minimal GUI. Support for KDE or XFCE may improve in future builds.
Q: Is this safe for daily use?
The Linux VM is sandboxed via AVF. However, the feature is experimental and not intended for production tasks.
📝 Final Thoughts
The ability to run Linux on Android with full GPU acceleration is nothing short of revolutionary. While it’s currently limited to Pixel devices and still in testing, Android 16 lays the groundwork for a unified future where your phone could be your primary development or productivity machine.
Whether you’re a developer, tinker, or just a Linux enthusiast—this is the perfect time to explore what Android can now do with Linux under the hood.
Stay tuned for future updates as Google improves performance, stability, and perhaps expands support beyond Pixel.
Tags: android 16, linux on android, debian installation, gpu rendering, android virtualization, pixel phone linux, weston, wayland, virtualgl, avf, linux terminal, android gui, experimental android features
Hashtags:
#Android16 #LinuxOnAndroid #AVF #GPUAcceleration #VirtualGL #Pixel7a #DebianLinux #WestonGUI #WaylandLinux #TechExplained