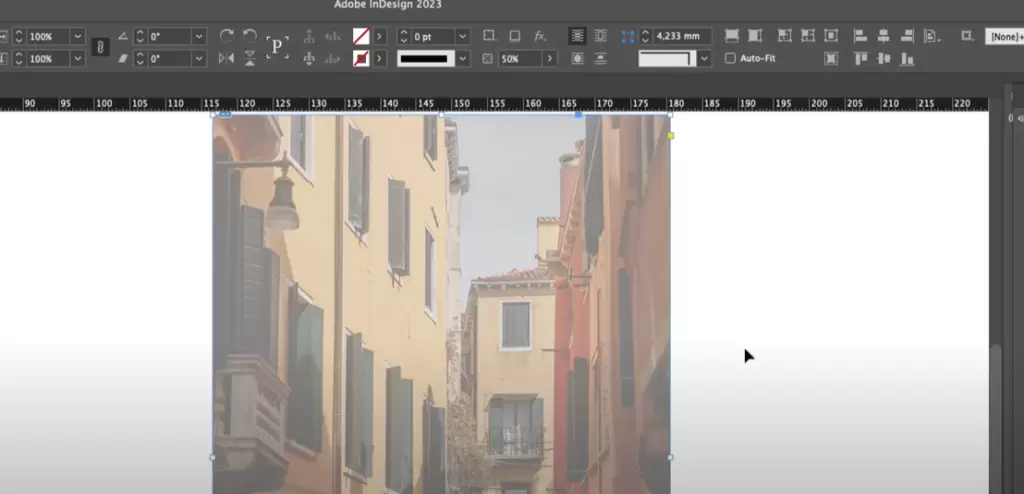
Fading an image, or reducing its opacity, in Adobe InDesign can add a professional touch to your design. This feature is particularly useful when creating subtle overlays, watermarks, or blending images with text. Here is a detailed guide on how to fade an image in Adobe InDesign.

Step 1: Insert and Select the Image
- Open your Adobe InDesign document.
- Place the image you want to fade:
- Go to File > Place or press
Ctrl + D(Windows) /Command + D(Mac). - Select the image file from your computer and click Open.
- Click on your document to position the image.
- Go to File > Place or press
- Select the image by:
- Clicking on it directly.
- Dragging a selection box over it.
Step 2: Open the Control Bar
Once your image is selected, locate the Control Bar at the top of the InDesign interface. This toolbar provides various options to modify the selected object.
Step 3: Adjust the Opacity
- Find the Opacity option in the Control Bar.
- It’s typically represented as a percentage field.
- Click on the arrow next to the opacity value to open the slider.
- Drag the slider left to reduce the opacity (fade the image).
- Drag it right to increase the opacity.
Step 4: Use Precise Values
For precise control:
- Double-click the opacity value field.
- Delete the existing number and type your desired opacity percentage.
- Example: Enter “50%” for half opacity.
- Press Enter to apply the change.
The image will now display at the specified opacity level, creating the faded effect.
Step 5: Restore the Original Opacity
If you decide to undo the fading effect:
- Return to the opacity slider or field.
- Set the opacity back to 100%.
Applications of Fading Images
- Background Effects: Create subtle backgrounds that don’t overpower your design.
- Watermarks: Add logos or text overlays with reduced opacity.
- Blending Elements: Seamlessly integrate images with other design elements.
Conclusion
Fading an image in Adobe InDesign is an easy yet powerful technique to enhance your designs. By following these steps, you can effortlessly adjust image opacity to achieve the desired visual effect.
Tags and Hashtags
Tags: Adobe InDesign, fade image, image opacity, graphic design tips, InDesign tutorial, layout design, design tools
Hashtags: #AdobeInDesign #DesignTips #ImageEditing #InDesignTutorial #GraphicDesign


