Adobe InDesign is a powerful tool for creating and managing text styles. In this article, we’ll walk you through the process of creating Character Styles, which are used to format specific words or phrases within a paragraph, as opposed to Paragraph Styles, which apply formatting to an entire paragraph. Let’s get started!
What Are Character Styles in Adobe InDesign?
Character Styles allow you to apply specific formatting (like font, size, or color) to selected text, without altering the formatting of the surrounding paragraph. For instance, you might use Character Styles to emphasize a single word within a sentence.
Steps to Create a Character Style in InDesign
1. Prepare Your Text
- Open your InDesign document.
- Create or identify the text you want to format with a Character Style.
- If you’ve already applied a Paragraph Style, select the word or phrase you want to format differently.
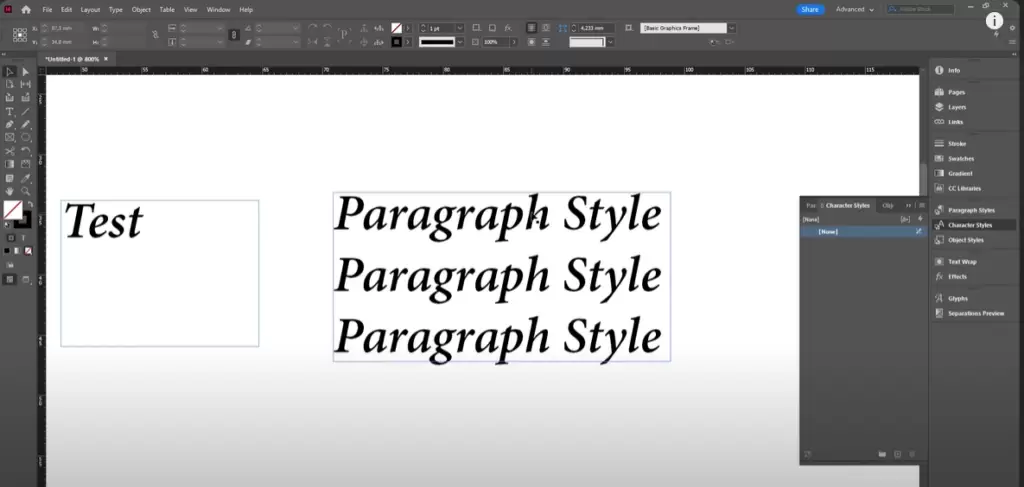
2. Open the Character Styles Panel
- Go to the top menu and click Window > Styles > Character Styles.
- Alternatively, use the keyboard shortcut Shift + F11 to open the panel.
3. Create a New Character Style
- In the Character Styles panel, click the three-line menu icon in the upper-right corner.
- Select New Character Style from the dropdown menu.
4. Configure Your Character Style
- A dialog box will appear.
- Name Your Style: Give it a descriptive name, such as “Emphasis Bold” or “Highlight Style.”
- Set Formatting Options: Navigate to different sections like “Basic Character Formats” to choose font, size, and style. You can also configure advanced options such as color, underline, or tracking.
- Assign a Shortcut (Optional): If you’ll be using this style frequently, set a keyboard shortcut for easy application.
- Apply Style to Selection: Check this option to immediately apply the style to your selected text.
5. Save Your Character Style
- Click OK to save the Character Style.
- You’ll see your new style listed in the Character Styles panel.
Editing an Existing Character Style
- In the Character Styles panel, double-click the style you want to edit.
- Modify the settings in the dialog box as needed.
- Enable Preview to see real-time updates as you make changes.
- Click OK to save the edits.
Applying Your Character Style
- Highlight the text you want to format.
- Open the Character Styles panel and select your style from the list.
- The selected text will adopt the formatting defined by your style.
Updating Overridden Character Styles
- If you manually adjust the formatting of text with an applied Character Style, you’ll notice a small plus icon (+) next to the style in the panel. This indicates overrides.
- To update the style with the new formatting:
- Right-click the style in the panel.
- Select Redefine Style to save the changes to your style.
Why Use Character Styles?
Character Styles save time and ensure consistency across your document. They’re especially useful when you need to emphasize certain words repeatedly or adhere to specific design guidelines.
Test Your Character Style
To ensure the style works as expected:
- Type a new word or phrase in your document.
- Apply the Character Style by selecting it from the panel.
- Confirm that the formatting matches your expectations.
Conclusion
Creating and managing Character Styles in Adobe InDesign is a straightforward process that significantly improves efficiency and consistency in text formatting. Whether you’re designing a book, a brochure, or any text-heavy project, mastering Character Styles is a valuable skill.
Tags: Adobe InDesign, Character Styles, Text Formatting, Paragraph Styles, InDesign Tutorial, Design Tips, Style Management
Hashtags: #AdobeInDesign #CharacterStyles #DesignTips #InDesignTutorial #TextFormatting #GraphicDesignTips