Adding images to text in Adobe InDesign is a creative way to enhance your design projects. This article explains the step-by-step process to fill text with an image using Adobe InDesign.
Steps to Fill Text with an Image in Adobe InDesign
- Create the Text
- Open your InDesign document.
- Go to the toolbar on the left side of the screen and select the Type Tool (or press the keyboard shortcut
T). - Click and drag on your document to create a text box.
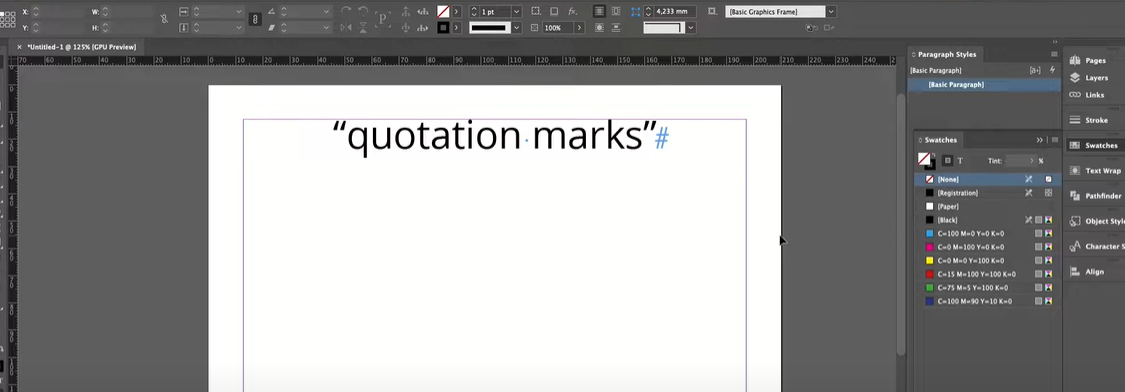
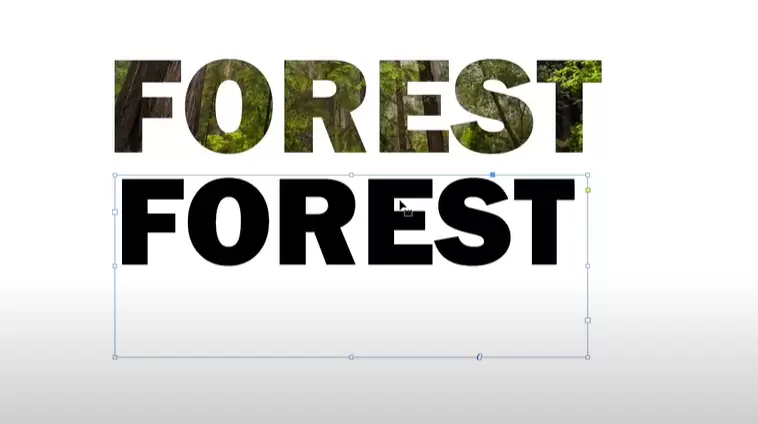
- Enter your desired text. For example, write “Forest.”
- Adjust the size of the text to make it more visible. To do this, select the text and scale it up as needed.
- Choose a font that suits your design. You can use any font style, but bold and thick fonts work best for this effect.
- Convert Text to Outlines
- Once your text is ready, convert it into outlines.
This step transforms the text into vector shapes, making it possible to insert an image into the text. - To do this, go to the top menu and select Type > Create Outlines (or use the keyboard shortcut
Shift + Ctrl + Oon Windows orShift + Command + Oon Mac). - Your text is now outlined and ready for the next step.
- Once your text is ready, convert it into outlines.
- Place the Image
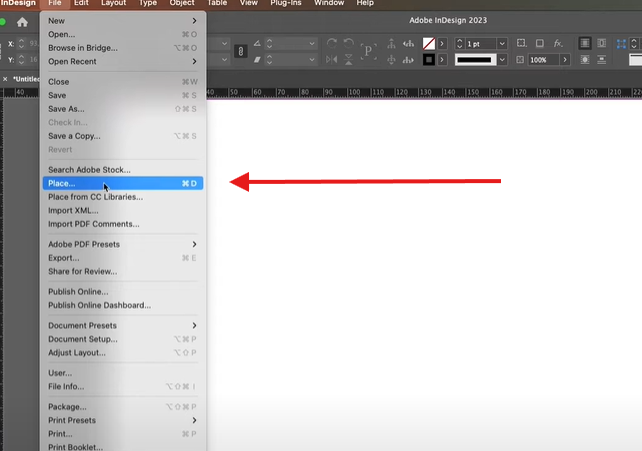
- Go to the top menu and select File > Place (or use the keyboard shortcut
Ctrl + Don Windows orCommand + Don Mac). - This opens your computer’s file browser. Locate the image you want to use and click Open.
For example, you might select an image of a forest.
- Go to the top menu and select File > Place (or use the keyboard shortcut
- Fit the Image to the Text
- The image will now fill the outlined text, but it might not fit perfectly.
- To adjust the fit, right-click on the text, choose Fitting, and then select Fill Frame Proportionally. This option ensures that the image fits well within the text boundaries.
- Adjust the Image Position
- To reposition the image within the text, double-click on the text. This allows you to select the image separately from the text frame.
- Drag the image to adjust its position until it looks perfect. For example, you might move the image to highlight a specific area within the text.
- Replace the Image (If Needed)
- If you want to replace the image with a different one, double-click on the text to select the image, then press Delete.
- Repeat the previous steps to place a new image.
Tips for Better Results
- Use bold fonts with thick strokes to make the image stand out more prominently.
- Experiment with different fitting options, such as Fit Content Proportionally, to achieve the desired look.
- Adjust the size and position of the text box to refine the final result.
Summary
By following these steps, you can easily fill text with an image in Adobe InDesign. This technique is perfect for creating eye-catching headlines, promotional materials, and artistic designs. Explore various font styles and images to discover new creative possibilities.
Tags
Adobe InDesign, Fill Text with Image, Typography Effects, Graphic Design, Creative Design, InDesign Tips, Design Tutorial, Text Effects
Hashtags
#adobeindesign #textwithimage #designideas #indesigntips #graphicdesign #creativedesign #texteffects

