Introduction
Adobe InDesign is a powerful tool for creating layouts, but sometimes you may need to export your designs as a PNG file. Whether for web usage, sharing with clients, or any other purpose, this guide will walk you through the detailed steps to save an InDesign file as a PNG.
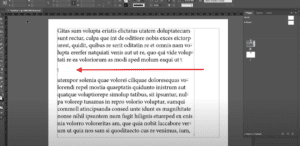
Step 1: Open Your InDesign File
- Prepare Your Document:
- Ensure your InDesign document is ready for export.
- Make any final adjustments before proceeding.
Step 2: Access the Export Option
- Navigate to Export:
- Go to the File menu at the top of the screen.
- Select Export from the dropdown menu.
- Alternatively, use the shortcut Ctrl+E (Windows) or Cmd+E (Mac).
- Choose a Save Location:
- A file explorer window will open.
- Navigate to the folder where you want to save the PNG file.
- Name Your File:
- Enter a name for your PNG file in the File Name field.
- Select File Type:
- Click on the dropdown menu next to the file type.
- Choose PNG from the list of available formats.
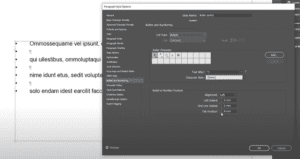
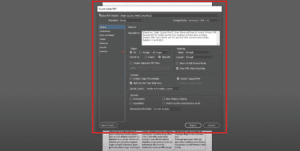
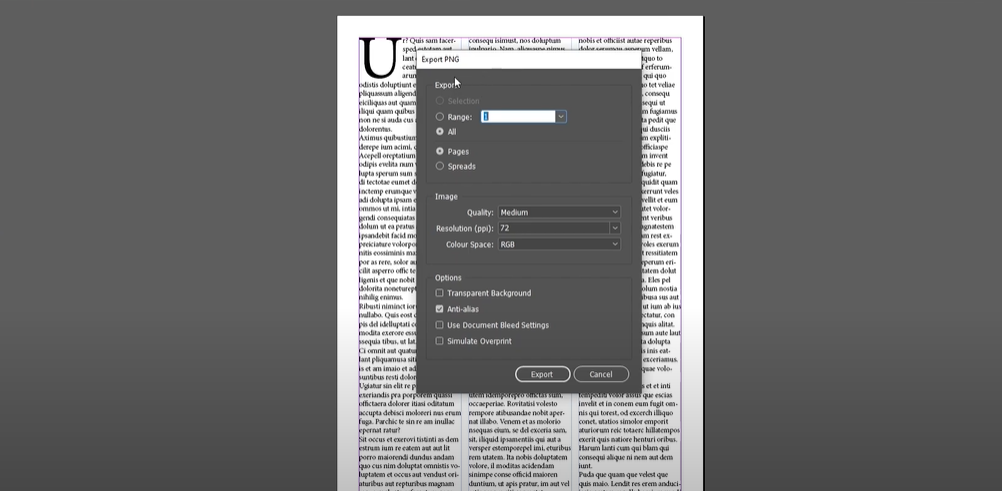
Step 3: Configure Export Settings
- Adjust Export Settings:
- After clicking Save, the Export PNG panel will appear.
- Configure the settings based on your requirements:
- Export Range:
- If your document has multiple pages, select the pages you want to export.
- For a single-page document, choose All or specify the page number.
- Image Quality:
- Options include Low, Medium, and Maximum.
- For best results, select Maximum.
- Resolution (PPI):
- Choose the resolution based on your intended use:
- 72 PPI for web usage.
- 150 PPI or 300 PPI for print quality.
- Choose the resolution based on your intended use:
- Color Space:
- Select RGB for digital outputs.
- Choose Gray for grayscale images.
- Transparent Background:
- Check this option if you want the PNG to have a transparent background.
- Export Range:
- Finalize Settings:
- Review all your selections to ensure they match your needs.
Step 4: Export the PNG
- Export the File:
- Click the Export button.
- Wait for the process to complete.
- Locate Your PNG:
- Navigate to the folder you selected earlier.
- Open the PNG file to verify the output.
Conclusion
Exporting an InDesign file as a PNG is a straightforward process that allows you to share or repurpose your design efficiently. By following these steps, you can ensure your file is exported with the desired quality and settings.
Tags: save InDesign as PNG, export InDesign file, Adobe InDesign tutorial, PNG file from InDesign, InDesign export settings
Hashtags: #AdobeInDesign #DesignTips #InDesignToPNG #GraphicDesign #ExportSettings #InDesignTutorial
Visited 54 times, 1 visit(s) today