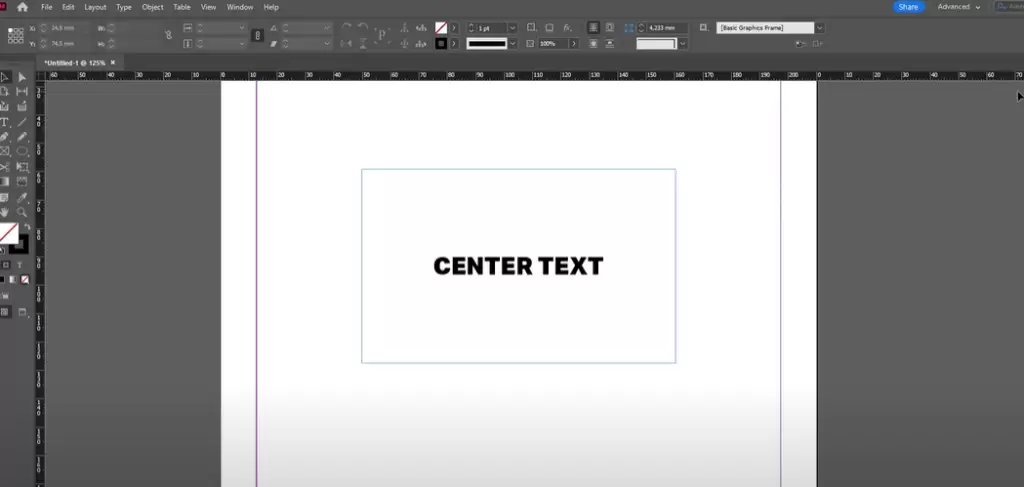
Centering text in a box in Adobe InDesign is a simple yet crucial technique for creating visually appealing layouts. Whether you’re working on a brochure, flyer, or any other document, aligning text perfectly enhances readability and aesthetics. This guide walks you through the steps to center text in a box both horizontally and vertically.

Why Centering Text Matters
Properly aligned text improves design balance and ensures a polished look. Centering text within a box is especially useful for:
- Headlines and titles
- Buttons or call-to-action areas
- Highlighted content within a design layout
Steps to Center Text in a Box in Adobe InDesign
1. Create a New Document
Open Adobe InDesign and create a new document.
Steps:
- Go to File > New > Document.
- Customize your page size, margins, and other settings, then click Create.
2. Add a Text Box
To center text, start by creating a text box.
Steps:
- Select the Type Tool from the toolbar on the left side of the screen.
- Shortcut: Press T on your keyboard.
- Click and drag on the document to create a text box.
- Type your desired text into the box.
3. Choose a Font and Adjust Text Size
Style your text to fit your design needs.
Steps:
- Highlight the text within the box.
- Use the Control Bar at the top to select a font and adjust the size.
- Increase the text size to make it easier to see during adjustments.
4. Align Text Horizontally
Horizontal alignment centers the text from left to right within the text box.
Steps:
- Select the text by highlighting it with the Type Tool.
- In the Control Bar, locate the alignment options.
- Click the Center Align option to center the text horizontally.
5. Center Text Vertically
Vertical centering ensures the text aligns in the middle of the box, from top to bottom.
Steps:
- Click on the text box with the Selection Tool (shortcut: V).
- Press Ctrl + B (Windows) or Cmd + B (Mac) to open the Text Frame Options dialog box.
- In the Vertical Justification section:
- Find the drop-down menu labeled Align.
- Select Center from the options.
- Turn on Preview to see changes in real-time.
- Click OK to apply the settings.
Your text is now centered both horizontally and vertically within the box.
6. Optional: Add Background Color to the Box
Enhance the design by giving the text box a background color.
Steps:
- Select the text box with the Selection Tool.
- Go to the Swatches Panel (Window > Color > Swatches).
- Choose a fill color for the box.
7. Test Your Changes
Resize the text box to ensure the text stays centered regardless of adjustments. InDesign automatically adjusts the text alignment based on your centering settings.
Tips for Centering Text in Adobe InDesign
- Use Preview: Always turn on the Preview option in dialog boxes to see changes instantly.
- Keyboard Shortcuts: Save time by mastering shortcuts like Ctrl + B or Cmd + B for Text Frame Options.
- Consistent Styling: Apply consistent font sizes and alignments across multiple boxes for a cohesive design.
Conclusion
Centering text in a box in Adobe InDesign is a straightforward process that enhances the presentation of your designs. By following the steps above, you can ensure perfect alignment for any text box, making your layouts more professional and visually appealing.
Start experimenting with text alignment and background colors to create stunning designs with ease!


