Introduction
While Adobe Photoshop is often the go-to tool for image effects like blurring, you can achieve similar results directly in Adobe InDesign. Whether you want to soften the edges of an image or create a blur effect for artistic purposes, InDesign has built-in tools that make the process quick and easy. This guide will show you step-by-step how to blur an image in InDesign using the Basic Feather effect.
Step 1: Insert and Select Your Image
- Open Adobe InDesign and create or open a document.
- Use the Rectangle Frame Tool (
F) to draw a frame on your page. - Insert your image by going to File > Place or pressing
Ctrl + D(Windows) /Cmd + D(Mac). - Select the image by clicking directly on it within the frame.
Step 2: Access the Effects Panel
To blur your image:
- With the image selected, locate the Effects Icon in the top control bar.
- It appears alongside other options like Drop Shadow and Object Effects.
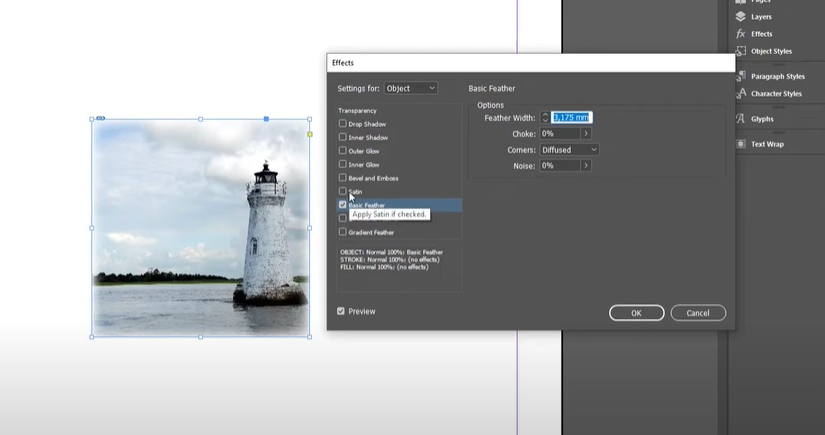
- Click the Effects Icon and select Basic Feather from the dropdown menu.
Step 3: Adjust the Blur Settings
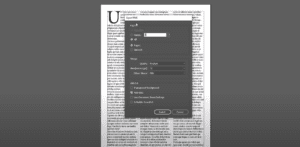
- The Effects Panel will open, displaying options for the selected effect.
- Enable the Preview checkbox to see the changes in real time.
- Focus on the following key settings:
- Feather Width:
- Use the arrow buttons or type a value to control the intensity of the blur.
- Higher values create more pronounced blur at the edges.
- Choke:
- Ensure this is set to
0to avoid unwanted effects.
- Ensure this is set to
- Noise:
- Set this to
0for a clean blur.
- Set this to
- Feather Width:
- Customize the corners of the image using the following options:
- Sharp: Retains sharp edges.
- Rounded: Creates smooth, rounded edges.
- Diffused: Blends the corners for a soft, natural look (recommended for most use cases).
- Once satisfied with the settings, click OK to apply the blur effect.
Step 4: Add a Background Color (Optional)
To highlight the blur effect:
- Use the Rectangle Tool (
M) to create a background that spans the page. - Fill the rectangle with a color of your choice by double-clicking the Fill Color box in the tools panel.
- Right-click the rectangle and select Arrange > Send to Back to place it behind the image.
Step 5: Edit or Enhance the Effect
If you need to make adjustments:
- Select the image again and click the Effects Icon.
- Reopen the Basic Feather effect and modify the settings as desired.
- You can also experiment with additional options like:
- Increasing the Feather Width for a more dramatic blur.
- Changing the corner style to Rounded for a smoother look.
Step 6: Preview the Result
Switch to Preview Mode (W) to hide guides and frame borders, allowing you to see the final result. Your blurred image should now have softened edges, blending seamlessly with your layout.
Conclusion
Blurring an image in Adobe InDesign is an easy and effective way to add visual interest to your design without needing external tools like Photoshop. By using the Basic Feather effect, you can control the intensity and style of the blur directly within InDesign.
#AdobeInDesign #InDesignTutorial #BlurImage #GraphicDesign #DesignTips #CreativeDesign

