Introduction
Text wrapping is an essential skill for graphic designers and content creators working with Adobe InDesign. This tutorial will guide you through the process of creating text wraps around an image, from masking the image in Photoshop to finalizing the design in InDesign. Follow these steps for a seamless design experience.
Step 1: Preparing the Image in Photoshop
- Choose the Image
Select the image you want to wrap text around. For this example, let’s use an image of a golf ball. - Mask the Object
- Open the image in Photoshop.
- Use a tool like the Pen Tool (shortcut:
P) to mask the object. - Zoom in to ensure precision and carefully outline the object.
- Create a Path
- Once you’ve masked the object, navigate to the Paths panel.
- Right-click on the path and select Make Selection.
- Name the path (e.g., Golf Ball) and click OK.
- Apply a Vector Mask
- In the Layers panel, click Layer > Vector Mask > Current Path.
- Press
Ctrl + Dto deselect. The background should now be removed.
- Crop and Save the Image
- Crop the image to focus solely on the object.
- Save the file as a
.PSDformat for compatibility with InDesign.
Step 2: Importing the Image into InDesign
- Open Your InDesign File
- Launch Adobe InDesign and open the project where you want to add the text wrap.
- Place the Image
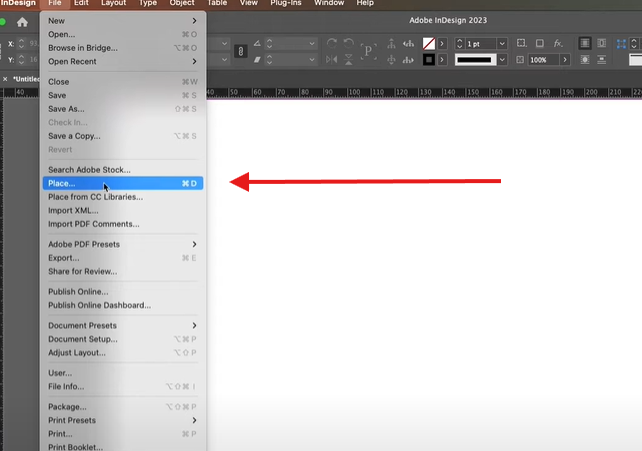
- Use the shortcut
Ctrl + Dto import the.PSDfile. - Position and scale the image as needed on the page.
- Use the shortcut
Step 3: Applying the Text Wrap
- Access the Text Wrap Panel
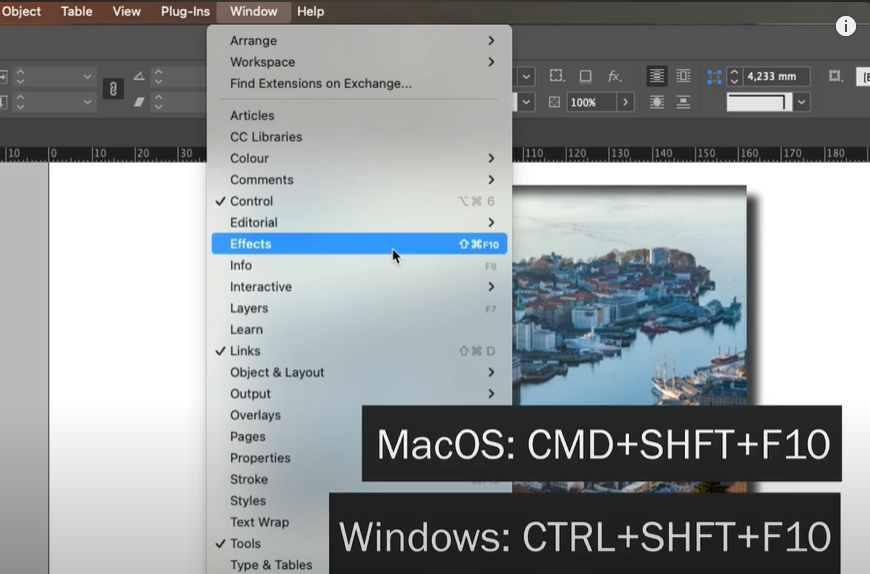
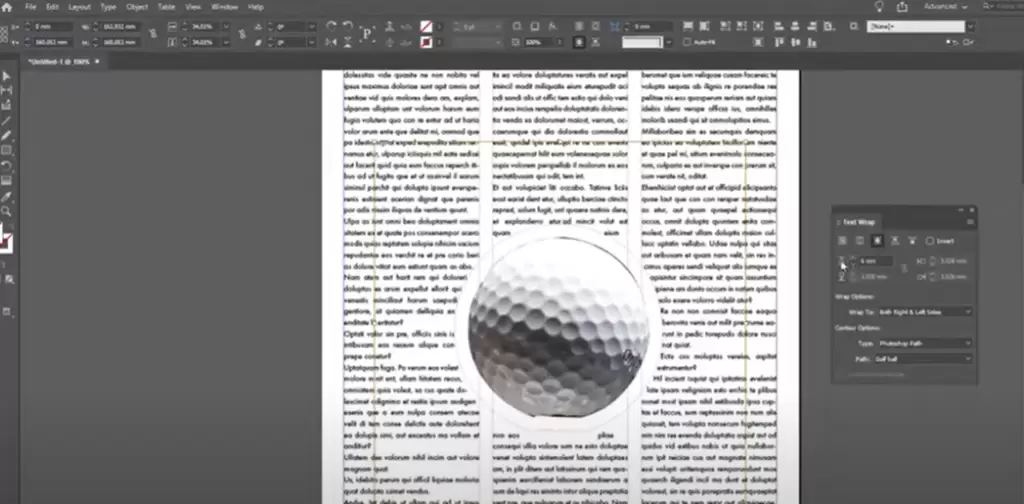
- Go to the Window menu and select Text Wrap. This opens the Text Wrap panel.
- Choose the Wrap Option
- Select the image and choose the third option in the Text Wrap panel: Wrap Around Object Shape.
- Adjust Wrap Settings
- Set the Wrap Options to wrap text on both the left and right sides.
- Under Contour Options, select Photoshop Path and choose the path you created earlier (e.g., Golf Ball).
- Fine-Tune the Text Wrap
- Adjust the offset using the arrow keys in the Text Wrap panel to control how close or far the text sits from the object.
- Scale or reposition the image as needed to enhance your design.
Step 4: Finalizing and Experimenting
- Experiment with Effects
- Try wrapping text around complex objects for creative layouts.
- Ensure your masking in Photoshop is precise to achieve the best results.
- Remove the Text Wrap (if needed)
- To remove the wrap, select the image and click the No Text Wrap option in the Text Wrap panel.
Conclusion
By following these steps, you can easily create professional-looking text wraps in Adobe InDesign. Experiment with different shapes and layouts to enhance your designs further. Refer back to this article whenever you need guidance, and happy designing!
#TextWrap #AdobeInDesign #PhotoshopTips #GraphicDesign #DesignTutorial #InDesignBasics #CreativeSuite #DesignTips

