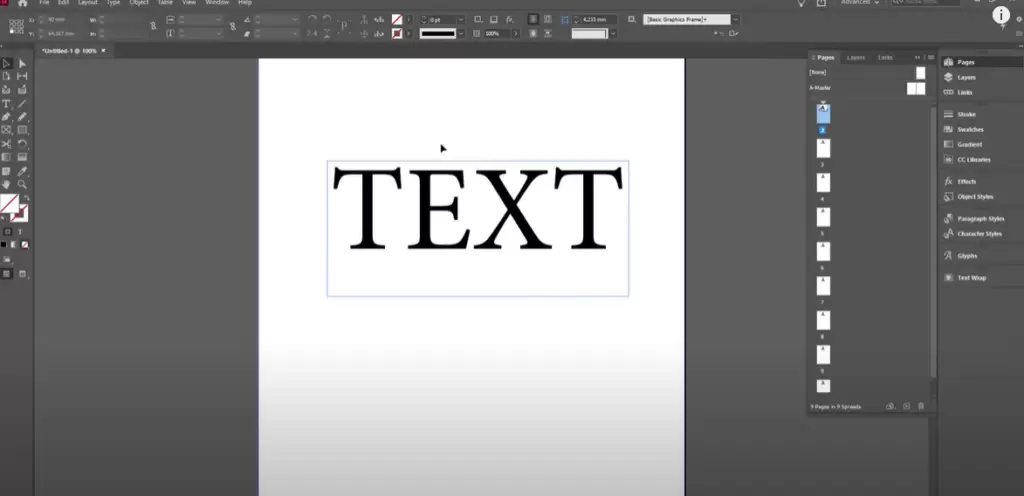
Customizing text color is one of the most important aspects of creating visually appealing designs in Adobe InDesign. Whether you’re working on a brochure, flyer, or any other type of project, understanding how to change and manage text colors effectively is essential. This guide will walk you through the detailed steps to change text color, save custom colors, and apply them to your designs.

Step 1: Create or Select Text
- Open your InDesign document or create a new one.
- Select the Type Tool from the Tools panel or press the keyboard shortcut T.
- Drag to create a text box, then type your desired text.
- Scale the text to a visible size by selecting the text box and adjusting it using the corners.
Step 2: Select the Text
To change the color of the text:
- Use the Type Tool to highlight the text you want to modify.
- You can select specific parts of the text or the entire text box. To select all text in the box, press Ctrl + A (Windows) or Command + A (Mac).
Step 3: Change the Text Color via Toolbar
- Go to the toolbar and locate the Fill Color (T) icon.
- Double-click on the icon to open the Color Picker.
- Choose your desired color. For example, select red for a vibrant look.
- Press OK to apply the color.
Note: If the changes don’t appear immediately, switch to the Selection Tool (shortcut V) to view the updated color.
Step 4: Use the Swatches Panel
- Open the Swatches Panel by navigating to Window > Color > Swatches (shortcut F5).
- Select the text using the Type Tool and click on a color swatch to apply it to the text.
If the Swatches panel is not visible, enable it from the Window menu.
Step 5: Save a Custom Color
- To save a custom color for reuse:
- Double-click the Fill Color icon in the toolbar.
- Choose your desired color (e.g., blue).
- Click on Add RGB Swatch to save it.
- The new color will appear in the Swatches panel, ready for use.
Step 6: Apply Saved Colors to New Text
- Create new text or modify existing text.
- Select the text and click on the saved color swatch in the Swatches panel.
- The text will instantly adopt the saved color.
Step 7: Update Saved Colors
One of the most efficient features of Adobe InDesign is the ability to update saved colors across multiple text elements:
- Open the Swatches Panel and double-click on the saved color.
- In the color settings, adjust the color as needed (e.g., change blue to brown).
- Enable the Preview option to see real-time updates across all instances of the color.
- Click OK to save the changes.
All text elements using this color will automatically update to reflect the new color.
Conclusion
Changing text color in Adobe InDesign is straightforward and provides a variety of options to enhance your design. By using the toolbar, swatches, and custom color-saving features, you can easily manage and apply consistent branding or stylistic elements across your projects.
If you want to create more efficient workflows, explore saving colors as swatches and leveraging the automatic updates feature to maintain design consistency effortlessly.
We hope this guide helps you take full control of text color customization in InDesign. Feel free to share your tips and experiences in the comments below!
#InDesign #AdobeInDesign #TextColor #GraphicDesignTips #InDesignTutorial #SwatchesPanel #ColorPicker #TextCustomization #DesignWorkflow #InDesignBasics


