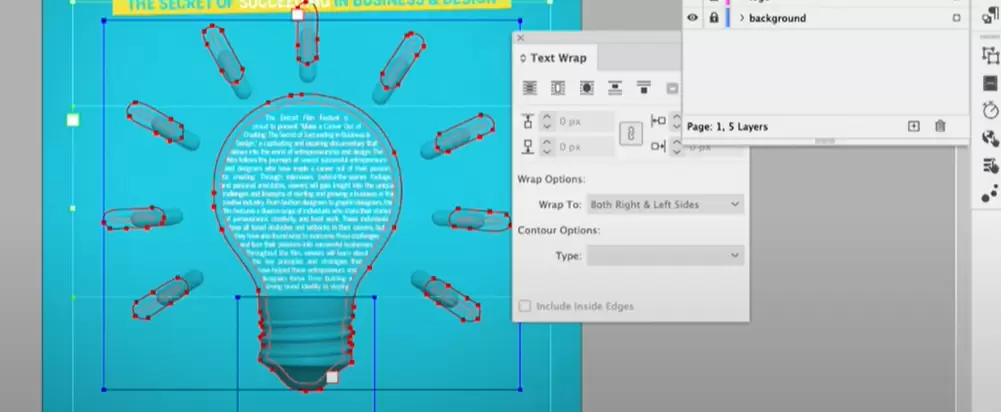
In this detailed guide, you’ll learn how to type text inside various shapes in Adobe InDesign and adjust it effectively. This tutorial is perfect for beginners and intermediate users who want to enhance their text layout skills. Let’s dive into the steps to achieve this seamlessly.

Step 1: Create a New Document
- Open Adobe InDesign and create a new document.
- Once the document is ready, select the Rectangle Tool (M) or any other shape tool (e.g., Circle, Polygon, Star).
Step 2: Draw a Shape
- Draw your desired shape on the document. For example, draw a rectangle.
- To adjust visibility, press
Ctrl + Hto hide the blue outline, ensuring only the shape is visible.
Step 3: Type Inside the Shape
- Select the Type Tool (T) from the toolbar.
- Click inside the shape. The text will automatically be constrained within the boundaries of the shape.
- Type your desired content. For instance, you can type “This is a sample text.”
Step 4: Adjust Text Properties
- Select the text and modify its font, size, and alignment in the Properties Panel or the Control Panel at the top.
- To vertically align the text:
- Use the alignment options like Align Top, Align Center, or Align Bottom from the alignment toolbar.
- For horizontal alignment:
- Use Left Align, Center Align, or Right Align in the paragraph settings.
Step 5: Use Text Frame Options
To fine-tune the spacing and alignment inside the shape:
- Select the shape with the Selection Tool (V).
- Press
Ctrl + Bto open the Text Frame Options window. - Adjust the following settings:
- Inset Spacing: Increase or decrease the space between the text and the edges of the shape.
- Vertical Justification: Choose between Align Top, Center, Bottom, or Justify to align the text vertically within the frame.
- Click OK to apply the changes.
Step 6: Experiment with Other Shapes
- Repeat the above steps with different shapes such as circles, polygons, or stars.
- Each shape will adapt to the text, and you can adjust it as needed.
Step 7: Center Text Precisely
- To ensure the text is perfectly centered both horizontally and vertically, combine the horizontal alignment settings with the Vertical Justification options.
- This ensures that your text looks professional and is well-positioned.
Additional Tips
- To experiment with margins and spacing:
- Use the Inset Spacing options under
Ctrl + B. - Adjust each side (left, right, top, bottom) individually for precise control.
- Use the Inset Spacing options under
- Avoid using overly complex shapes for text as it may distort readability.
Conclusion
Using these steps, you can easily type text inside any shape in Adobe InDesign and align it perfectly. Whether you’re working with rectangles, circles, or polygons, InDesign provides powerful tools to customize and adjust your text layout.
Let us know how this guide helped you by leaving a comment below. Stay tuned for more such tips and tricks!
#AdobeInDesign #GraphicDesign #DesignTips #TextLayout #Typography #InDesignTips


