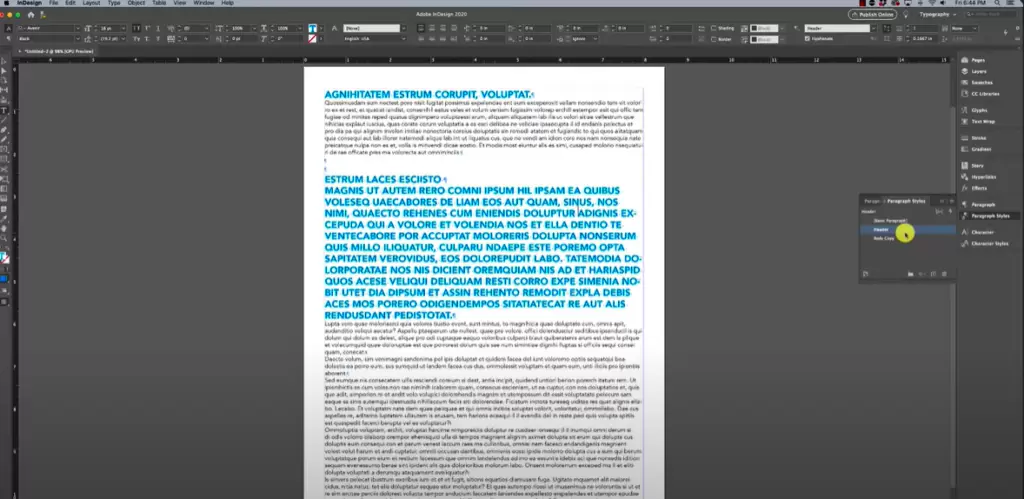
Adobe InDesign is a powerful tool for designers, and mastering its Character Styles feature can significantly enhance your workflow. Character Styles allow you to save and apply text formatting consistently across a document. This guide provides a detailed explanation of how to create and use Character Styles in InDesign effectively.

What Are Character Styles?
Character Styles are predefined formatting options that you can apply to selected text. They work in conjunction with Paragraph Styles, which format entire paragraphs. While Paragraph Styles define overall text properties (e.g., alignment, spacing), Character Styles are ideal for customizing specific parts, like making certain words bold or italic within a paragraph.
Why Use Character Styles?
- Consistency: Ensures uniformity in text formatting throughout the document.
- Efficiency: Saves time by avoiding repetitive manual formatting.
- Flexibility: Allows quick global changes when formatting needs to be updated.
Steps to Create Character Styles in Adobe InDesign
Step 1: Open Your Document
- Open your Adobe InDesign project where you want to apply Character Styles.
- Navigate to the Type menu at the top of the screen.
Step 2: Access Character Styles Panel
- Go to Window > Styles > Character Styles to open the Character Styles panel.
- Alternatively, use the shortcut Shift + F11 to bring up the panel.
Step 3: Select the Text
- Highlight the specific text you want to format.
- Ensure you select only the text characters, not spaces, to avoid issues with inconsistent formatting.
Step 4: Define a New Character Style
- In the Character Styles panel, click the Create New Style button (a small plus icon).
- A new unnamed style will appear in the panel.
Step 5: Customize the Character Style
- Double-click the newly created style to open the Character Style Options dialog box.
- Assign a meaningful name, such as Bold Heading or Italic Subtext, for easy identification.
Step 6: Adjust Formatting
- Under Basic Character Formats, choose:
- Font family (e.g., Times New Roman or Arial).
- Font style (e.g., Bold, Italic).
- Font size (e.g., 12 pt, 18 pt).
- Use the Character Color option to set a text color, if needed.
- Preview your changes to ensure they match your design requirements.
Step 7: Apply the Character Style
- Select the text you want to style.
- Click the desired Character Style in the panel. The formatting will apply instantly.
Tips for Using Character Styles
- Avoid Mixing Fonts Unnecessarily: Ensure consistent font families to maintain a professional look.
- Leverage Combination with Paragraph Styles: Use Character Styles for specific text elements, such as bolded words within a paragraph formatted with Paragraph Styles.
- Test and Modify: Experiment with different settings to find the perfect combination for your design.
Using Predefined Shortcuts
- Paragraph Styles Shortcut: Use F11 to access the Paragraph Styles panel.
- Character Styles Shortcut: Use Shift + F11 for quick access to Character Styles.
Troubleshooting Common Issues
- Missing Style Application:
- Ensure spaces are not selected along with text characters.
- Check for overlapping formatting in the Paragraph Style.
- Color Inconsistencies:
- Add colors to the Swatches panel to maintain consistency.
- Modify color directly in the Character Style to reflect changes across the document.
- Style Conflicts:
- Verify that Character Styles and Paragraph Styles are not conflicting. Modify settings in the Character Style panel if needed.
Conclusion
Mastering Character Styles in Adobe InDesign can simplify your design process and ensure professional results. By following the steps outlined above, you can create, modify, and apply Character Styles effectively, saving time and maintaining consistency across your projects.
For more tips and tricks, explore additional features in the Styles menu to elevate your designs.
#CharacterStyles #InDesignTips #AdobeInDesign #Typography #TextFormatting #DesignWorkflow


