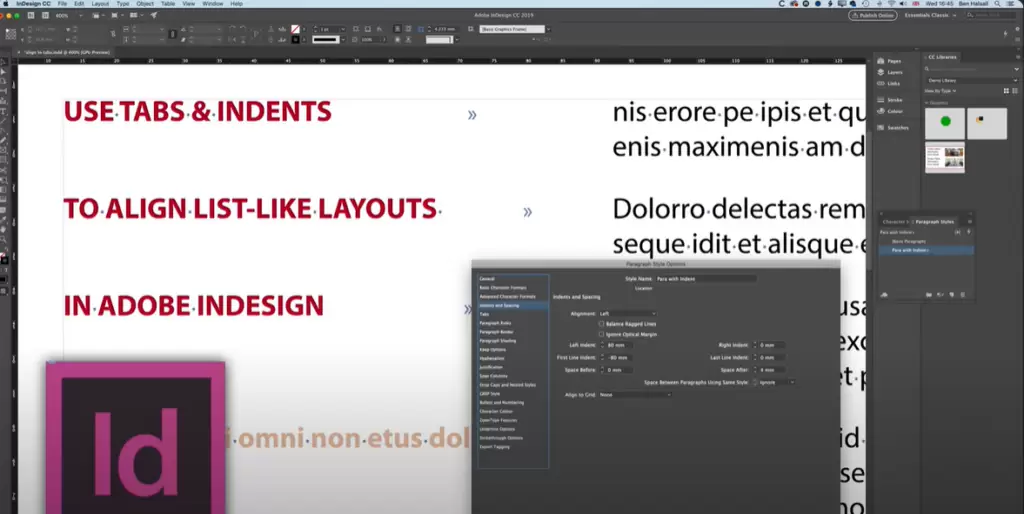
When working on text layout in Adobe InDesign, using tabs and indents effectively can make a significant difference in aligning and formatting your text. This guide provides a detailed walkthrough on how to align text, create indents, and set up paragraph styles for consistent formatting. Follow these steps to master the process.

Step 1: Setting Up Your Workspace
- Select Essentials Classic View
To ensure consistency, start by setting your workspace to Essentials Classic.- Navigate to Window > Workspace > Essentials Classic.
- Reset the workspace by selecting Window > Workspace > Reset Essentials Classic.
This setup aligns your InDesign layout with the instructions provided here.
- Enable Hidden Characters
Hidden characters help you see tabs, spaces, and paragraph markers.- Go to Type > Show Hidden Characters to toggle them on.
Step 2: Using Tabs for Alignment
- Open the Tabs Panel
- Highlight the paragraphs you want to align.
- Go to Type > Tabs. The Tabs Panel will appear, snapping to the selected paragraphs.
- Set the Tab Position
- Use the light gray bar in the Tabs Panel to drag the left-aligned tab to the desired position.
- For precise placement, type a specific value into the tab position field, e.g.,
5 mm.
Step 3: Adjusting Indents
- Set Left Indent and First Line Indent
- Open the Paragraph Panel via Type > Paragraph if the options aren’t visible.
- Set the Left Indent to
75 mmto indent all lines in the paragraph. - Set the First Line Indent to
-75 mmto pull the first line back to its original position.
- Fine-Tune the Indents
- Experiment with the values to achieve the desired alignment.
Step 4: Creating Paragraph Styles
- Apply Text Formatting
- Set your font, size, and spacing. For example, use Myriad Pro, Regular, 12 pt, with appropriate spacing after paragraphs.
- Save as a Paragraph Style
- Open Type > Paragraph Styles.
- With the paragraph selected, create a new style by clicking the + icon.
- Name the style, e.g., “Paragraph with Indent,” and save it.
- You can now apply this style to other paragraphs or entire text frames.
Step 5: Using Nested Styles for Advanced Formatting
- Enable Drop Caps and Nested Styles
- Double-click the paragraph style you created and go to Drop Caps and Nested Styles.
- Add a nested style to format specific parts of the text, such as the first few words or characters.
- Customize Formatting
- Choose a font style, size, or color for the nested style.
- Specify the range, e.g., up to the tab character.
- Refine Alignment
- Adjust the left and first-line indents or tabs if necessary to maintain alignment.
Step 6: Exploring Additional Applications
- Use these techniques to format bullets and numbered lists by aligning them with indents.
- Experiment with the Tabs Panel and Paragraph Styles to save time and achieve consistent results across your document.
Wrapping Up
Using tabs, indents, and paragraph styles in Adobe InDesign offers a powerful way to align and format text precisely. By following this guide, you can streamline your workflow, maintain consistency, and create professional-looking layouts. If you have questions or need further clarification, feel free to ask.
#AdobeInDesign #TabsAndIndents #TextAlignment #ParagraphStyles #DesignTips #InDesignTutorials #TextFormatting #LayoutDesign #ProfessionalFormatting


