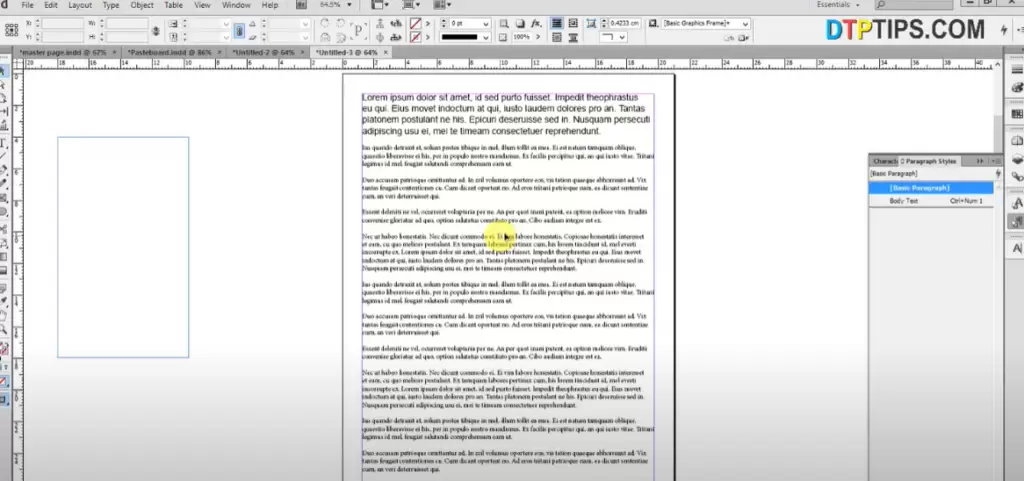
When working with text-heavy designs in Adobe InDesign, understanding and using paragraph styles can save time and maintain consistency. This article will guide you through the process of creating and modifying paragraph styles to customize your text formatting effectively.

What Are Paragraph Styles?
Paragraph styles in Adobe InDesign are predefined sets of formatting rules that can be applied to entire paragraphs of text. They allow you to standardize text properties such as font size, leading, alignment, and more, ensuring a uniform design.
Steps to Create and Modify Paragraph Styles
Step 1: Open a New Document
- Launch Adobe InDesign.
- Create a new document by navigating to File > New > Document.
- Set up your document specifications such as page size, margins, and columns.
Note: Ensure you have a clear layout plan for your design before proceeding.
Step 2: Access the Paragraph Styles Panel
- Go to the Window menu.
- Select Styles > Paragraph Styles. Alternatively, press F11 to open the panel.
- You will see a default style named Basic Paragraph in the panel.
Step 3: Create a New Paragraph Style
- Click the Create New Style button at the bottom of the Paragraph Styles panel (it looks like a small page icon).
- Right-click on the newly created style and select Edit “Paragraph Style 1” (or your default name).
Step 4: Name Your Paragraph Style
- In the Paragraph Style Options dialog box, enter a meaningful name under Style Name. For example, “Body Text” or “Header Style.”
- Ensure the Based On option is set to [No Paragraph Style] to avoid inheriting unwanted attributes.
Step 5: Modify the Basic Character Formats
- In the left panel, select Basic Character Formats.
- Customize the following options:
- Font Family: Choose your desired font, e.g., Arial or Times New Roman.
- Font Style: Set it to Regular, Bold, Italic, etc.
- Font Size: Enter the size, e.g., 16 pt for body text.
- Leading: Adjust the line spacing, e.g., 20 pt.
Tip: Keep the Preview checkbox enabled to see real-time changes on the selected text.
Step 6: Adjust Additional Formatting Options
- Indents and Spacing: Define paragraph alignment, indentation, and spacing before or after the paragraph.
- Tabs: Set custom tab stops for uniform alignment.
- Paragraph Rules: Add lines (rules) above or below the paragraph for headers or highlighted text.
Step 7: Apply Your Style to Text
- Use the Type Tool (T) to create a text frame and input some sample text.
- Select the text or text frame.
- In the Paragraph Styles panel, click on the style you created to apply it.
Step 8: Modify an Existing Paragraph Style
If you need to make changes:
- Double-click on the style in the Paragraph Styles panel.
- Adjust the formatting in the Paragraph Style Options dialog box.
- Click OK to apply the changes. All text using this style will update automatically.
Pro Tips for Working with Paragraph Styles
- Preview Changes: Always enable the Preview option to see how your changes affect the text.
- Use Shortcuts: Assign keyboard shortcuts to frequently used styles for quick application.
- Avoid Modifying Basic Paragraph Style: Create new styles instead of modifying the default Basic Paragraph style for better control.
By following these steps, you can create professional and consistent designs effortlessly. Paragraph styles streamline your workflow, saving you time while ensuring visual harmony across your project.
#paragraphstyles #adobeindesign #textformatting #indesigntutorial #textstyles #graphicdesign #indesigntips #designworkflow #indesigntext


