In this article, we’ll walk through creating and customizing bulleted lists in Adobe InDesign. Whether you’re using the latest features or working with traditional methods, you’ll learn how to tailor lists to your specific needs.
Step 1: Open the Files
Start by opening the document where you want to create a bulleted list. For this tutorial, we’ll work with a sample file containing plain text.
Step 2: Selecting Text
Select the text you want to convert into a bulleted list.
Accessing Bulleted Lists:
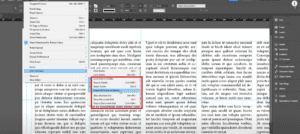
- In Adobe InDesign CC 2019 and newer versions, you can enable bulleted lists directly from the Properties Panel on the right-hand side.
- Alternatively, use the Control Panel at the top of the screen. Switch to the Paragraph Options (the second button) and click the bulleted list icon.
Step 3: Customize Bullets
To customize your bulleted list:
- Access List Options:
- Hold the
Alt(Windows) orOption(Mac) key and click the bulleted list icon in the Control Panel to open the Bullets and Numbering dialog box.
- Hold the
- Add New Bullet Characters:
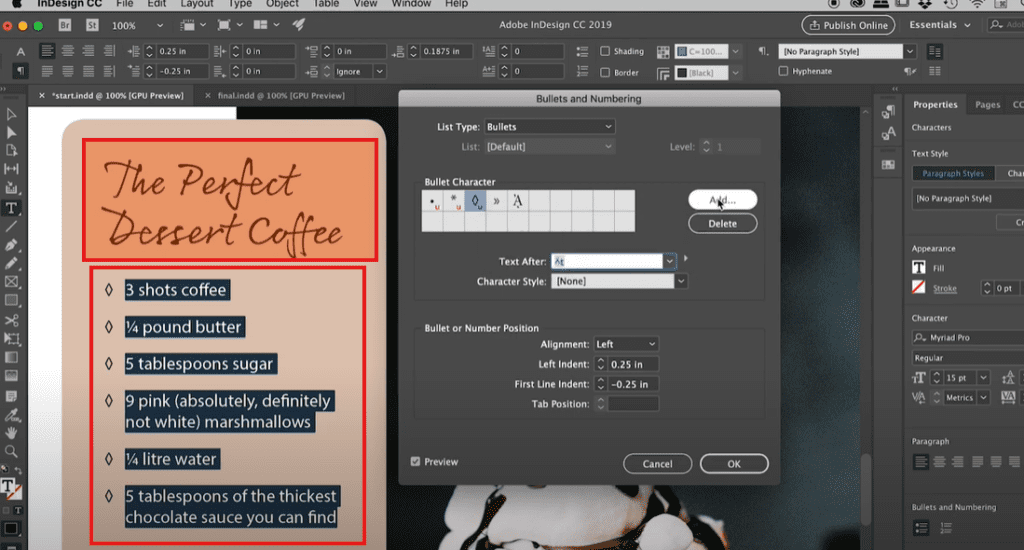
- Click Add in the dialog box to open the font’s character map.
- Choose any font, such as Wingdings, and select a symbol to use as a bullet.
- Click Add and then OK.
- The new symbol will appear in the bullet selection list. Choose it to apply to your bulleted list.
Step 4: Adjust Bullet Alignment
Occasionally, alignment issues may arise with your bulleted lists. If the bullets and text seem misaligned:
- Open the Bullets and Numbering dialog box.
- Adjust the Left Indent and First Line Indent values.
- For instance, set Left Indent to
0.25and First Line Indent to-0.25.
- For instance, set Left Indent to
- These adjustments will eliminate unwanted tab positions and ensure proper alignment.
Step 5: Change Bullet Colors
By default, bullets inherit the color of the text. To change the bullet color:
- Open the Swatches Panel from the Window > Color menu.
- Create a new swatch with your desired color by clicking New Color Swatch.
- Use the Character Styles Panel (Window > Styles > Character Styles).
- Create a new character style and assign your swatch color under the Character Color section.
- Return to the Bullets and Numbering dialog box, and apply the new character style to your bullets under the Character Style dropdown.
Step 6: Save the List as a Paragraph Style
To streamline future projects, capture the formatting as a paragraph style:
- Select the text containing the customized bulleted list.
- Open the Paragraph Styles Panel (Window > Styles > Paragraph Styles).
- From the panel menu, choose New Paragraph Style.
- Name the style (e.g., “Recipe List”).
- In the Bullets and Numbering section, ensure the bullet character and style are captured.
- Click OK to save the style.
Now, you can quickly apply this style to other paragraphs by selecting the style in the Paragraph Styles panel.
Conclusion
Creating and editing bulleted lists in Adobe InDesign is straightforward with these steps. From customizing bullet symbols to saving paragraph styles, you can ensure your lists meet your design requirements with ease. Refer to this article whenever you need guidance.
#InDesign #DesignTips #GraphicDesign #Typography #AdobeCreativeCloud


