Adobe InDesign offers powerful tools for managing text layout, including hyphenations. Controlling hyphenations can significantly enhance the readability and aesthetic appeal of your designs. This detailed guide will help you understand how to manage hyphenations effectively in Adobe InDesign.
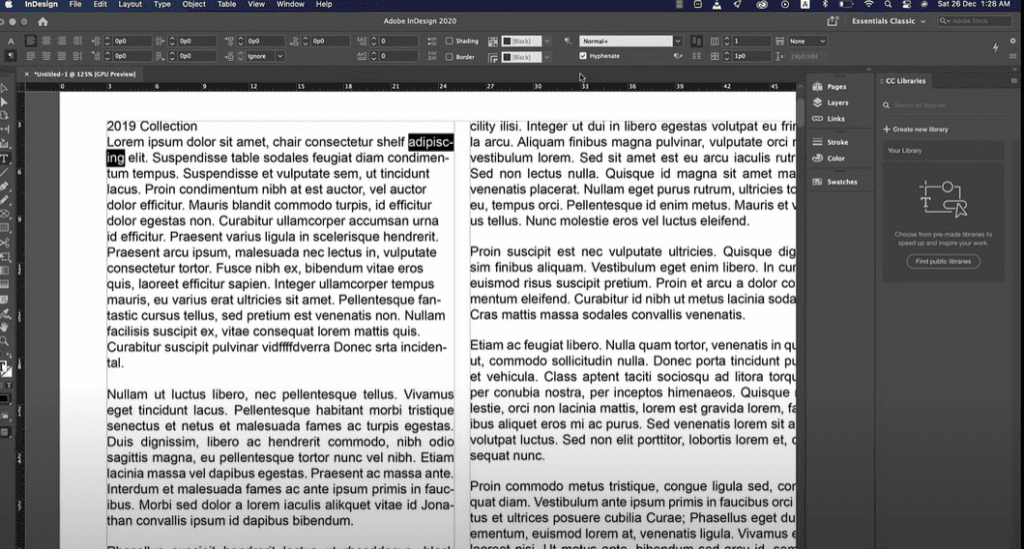
Step 1: Accessing Hyphenation Controls
To control hyphenations in Adobe InDesign:
- Select the Text Tool from the toolbar.
- Note: Hyphenation controls won’t appear if the Selection Tool is active.
- Once the Text Tool is selected, click on the symbol located below the Capital A on the top menu on the left.
- In the displayed options, locate the Hyphenation checkbox.
Step 2: Turning Off Hyphenations
If you dislike hyphenations, simply uncheck the Hyphenation checkbox.
- This action will remove hyphenations from the selected text or the entire document, depending on your selection.
However, for more control, keep the Hyphenation option checked to dive deeper into customization.
Step 3: Customizing Hyphenation Options
- Highlight the text by pressing Command + A (Mac) or Ctrl + A (Windows).
- On the extreme right of the top menu, click the hamburger menu (three horizontal lines) and select Hyphenation Options from the dropdown.
Step 4: Exploring Hyphenation Settings
Here’s a breakdown of the key options available:
- Uncheck “Hyphenate Capitalized Words”
- This prevents hyphenation of words starting with uppercase letters. For example, the word “Jonathan” will no longer be hyphenated.
- Uncheck “Hyphenate Last Word”
- This ensures that the last word of a paragraph, such as “incidental,” remains intact instead of being split across lines.
- Uncheck “Hyphenate Across Column”
- This prevents splitting a word between two columns. For instance, a word like “facility” will remain whole in one column instead of splitting between two.
Step 5: Manually Adjusting Hyphenation for Specific Words
- Go to Edit → Spelling → Dictionary.
- Select the word you want to customize (e.g., “fantastic”).
- Click on the Hyphenate option to view InDesign’s default hyphenation points.
- The tilde (~) symbol indicates where the word can be split.
- Adjust the hyphenation points as needed and click Add to save your changes.
Step 6: Keeping Specific Words Together
If you want specific words to stay together on the same line:
- Highlight the words (e.g., “Black Wood”).
- Go to Type → Character.
- Click on the hamburger menu and select No Break.
- This ensures the selected text will always appear together on the same line.
Alternatively, you can use the shortcut:
- Command + Enter/Return (Mac) or Ctrl + Enter/Return (Windows) and type “No Break.”
Step 7: Turning Off Hyphenation Permanently for New Documents
To turn off hyphenation permanently for all new documents and text frames:
- Close all open documents in Adobe InDesign.
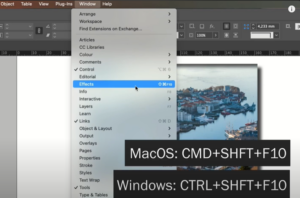
- With no document open, go to the Paragraph Panel by clicking Window → Type & Tables → Paragraph.
- In the Paragraph Panel, uncheck the Hyphenate option.
- This change will apply to all new documents and text frames you create in the future.
By following these steps, you can have full control over hyphenations in Adobe InDesign. Proper hyphenation management improves readability and ensures your designs meet professional standards. Experiment with these settings to achieve the perfect text layout for your projects.
#InDesignTips #AdobeInDesign #HyphenationControl #GraphicDesign #TextFormatting #TypographyDesign #CreativeWorkflow


