Creating a WordPress site starts with setting up the right hosting environment and installing WordPress. This guide will walk you through the process of choosing a web host, registering a domain name, installing WordPress, and logging into your dashboard.
1. Choosing a Web Host
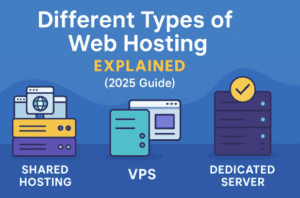
A web host is a service that stores your website’s files and makes them accessible on the internet. Here are a few popular web hosts that are well-suited for WordPress:
- Bluehost: Recommended by WordPress.org, offers a free domain for the first year, free SSL, and 24/7 support.
- SiteGround: Known for its excellent customer service and high performance.
- DreamHost: Offers a free domain for the first year, free SSL, and a 97-day money-back guarantee.
Example: If you’re looking for a beginner-friendly host with great customer support, Bluehost is a good choice. For higher performance and premium features, consider SiteGround.
2. Registering a Domain Name
A domain name is your website’s address on the internet (e.g., www.yourwebsite.com). Many web hosts offer domain registration as part of their hosting packages.
Steps:
- Go to your chosen web host’s website.
- Look for the domain registration section.
- Enter your desired domain name to check its availability.
- Follow the instructions to purchase the domain.
Example: If you’re setting up a blog about gardening, you might choose a domain like www.gardeningwithjane.com.
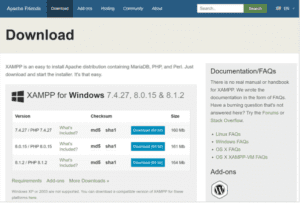
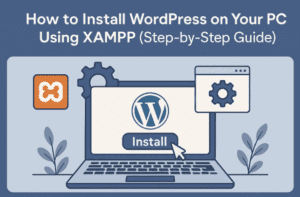
3. Installing WordPress Through Your Host
Most web hosts offer a one-click WordPress installation process, making it easy to get started.

Steps:
- Log in to your web host’s control panel (cPanel).
- Find the “WordPress” or “Website” section.
- Click on the “Install WordPress” button.
- Follow the prompts to complete the installation.
Example: On Bluehost, you’ll find the WordPress installation option under the “My Sites” section in the control panel.
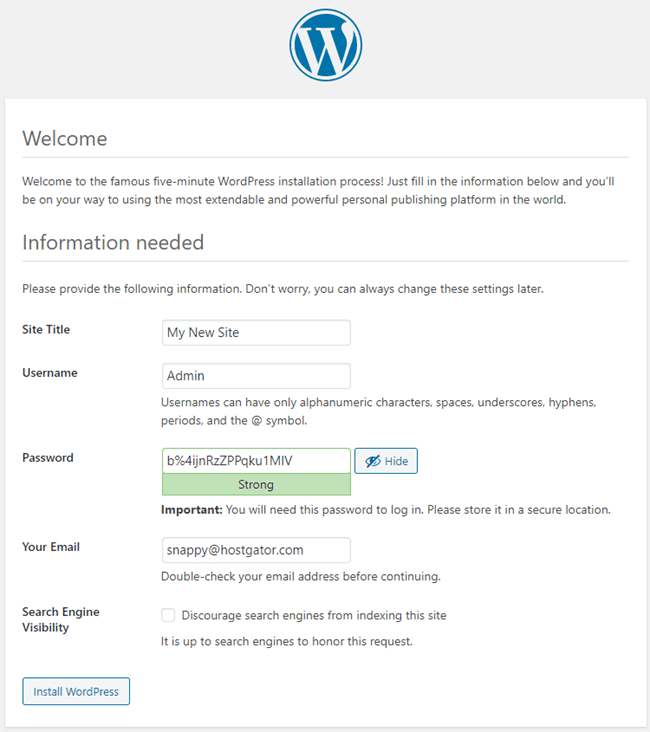
4. Logging into Your WordPress Dashboard
After installing WordPress, you can log into your dashboard to start customizing your site.
Steps:


- Go to your domain name followed by /wp-admin (e.g., www.yourwebsite.com/wp-admin).
- Enter the username and password you created during the installation.
- Click “Log In.”
Example: If your domain is www.gardeningwithjane.com, you would log in at www.gardeningwithjane.com/wp-admin using the credentials you set up.
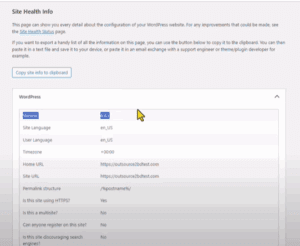
5. Overview of WordPress Dashboard Elements
The WordPress dashboard is the control center for your website. Here’s an overview of the main sections:
- Dashboard: Provides an overview of your site, including recent activity and updates.
- Posts: Manage your blog posts.
- Media: Upload and manage images, videos, and other media files.
- Pages: Create and manage static pages (e.g., About, Contact).
- Comments: Moderate comments left by visitors.
- Appearance: Customize your site’s design with themes, widgets, and menus.
- Plugins: Add new features to your site with plugins.
- Users: Manage user accounts and roles.
- Settings: Configure site-wide settings.
Example: To create your first blog post, navigate to the “Posts” section and click “Add New.”
#WordPressHosting #WebHosting #SharedHosting #VPS #DedicatedHosting