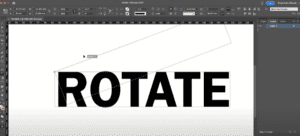
If you’ve ever worked with text in Adobe InDesign, you may have noticed the limitations of basic underlining options, such as a lack of control over gap color, thickness, or alignment. Enter Paragraph Rules, a powerful feature that allows you to create custom lines (above or below your text) with precise control over their appearance and position. This guide will walk you through the steps to use Paragraph Rules effectively.
Step 1: Create a Document and Add Text
- Open Adobe InDesign and create a new document.
- Add some placeholder text to work with:
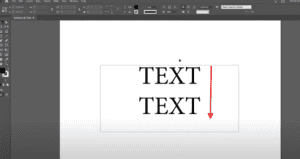
- Use the Type Tool (T) to draw a text frame.
- Fill it with dummy text by going to
Type > Fill with Placeholder Text.
Step 2: Open the Paragraph Panel
- Go to the top menu and click
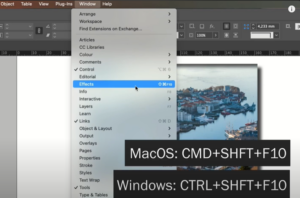
Window > Type & Tables > Paragraphto open the Paragraph Panel.- Alternatively, use the shortcut
Ctrl + Alt + T(Windows) orCmd + Option + T(Mac).
- Alternatively, use the shortcut
- Ensure the Paragraph Panel is visible for easy access.
Step 3: Apply Paragraph Rules
- Select the text to which you want to apply Paragraph Rules.
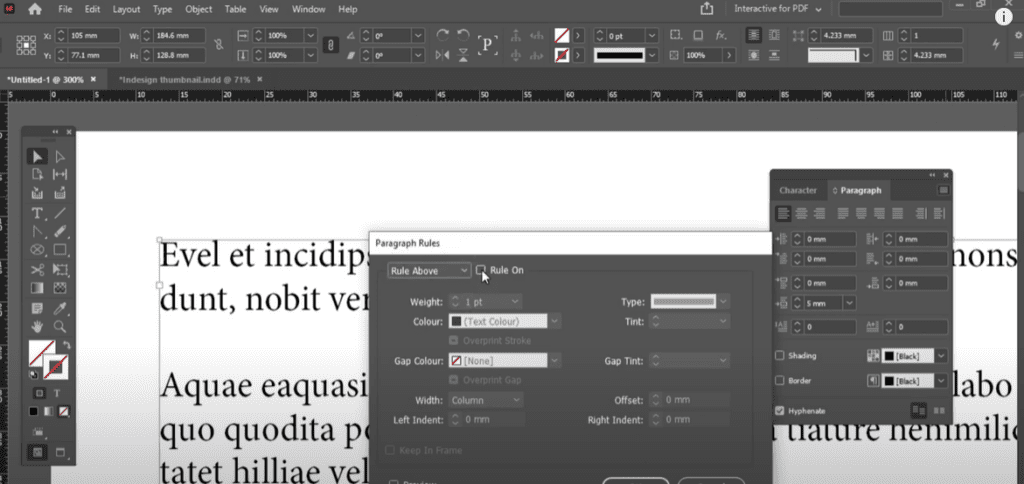
- In the Paragraph Panel, locate the settings menu (hamburger icon) and choose Paragraph Rules.
- Shortcut: Use
Ctrl + Alt + J(Windows) orCmd + Option + J(Mac).
- Shortcut: Use
Step 4: Customize Paragraph Rules
The Paragraph Rules dialog box provides two main options:
- Rule Above – Adds a line above the text.
- Rule Below – Adds a line below the text.
Example: Adding a Rule Below
- Enable the Rule Below checkbox.
- Customize the following:
- Weight: Adjust the thickness of the line.
- Color: Choose a color for the rule. For instance, you can select red for a vibrant effect.
- Type: Select the line style (solid, dashed, dotted, etc.).
- Offset: Adjust the line’s position relative to the text (positive values move it away; negative values bring it closer).
- Indentation: Specify how far the line should extend on the left and right sides.
Step 5: Create Dynamic and Unique Styles
- Use the Gap Color option for dashed or dotted lines:
- For example, set the rule type to dotted and select a different color for the gaps.
- Experiment with various rule types and offsets to achieve creative designs, such as double lines or patterned effects.
Step 6: Fine-Tune the Settings
- Adjust the Alignment settings to ensure the rules align with the text frame or margins.
- Preview the changes in real time by enabling the Preview checkbox in the dialog box.
Step 7: Apply and Save
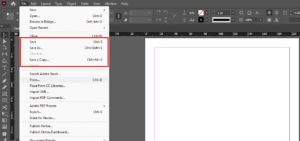
- Once satisfied with your settings, click OK to apply the changes.
- Save your design for future reuse by creating a Paragraph Style:
- In the Paragraph Panel, select
New Paragraph Style. - Save your customizations under a recognizable name.
- In the Paragraph Panel, select
Final Tips
- Experiment with different rule styles for headings, subheadings, or body text to make your designs visually appealing.
- Use consistent Paragraph Rules across your document for a professional look.
#InDesign #TextEffects #DesignTips #GraphicDesign #AdobeInDesign #ParagraphRules #TextStyling #DesignTutorial
Visited 136 times, 1 visit(s) today
