Whether you’ve just unboxed a brand-new PC or performed a clean install of Windows 10 or 11, there’s a crucial list of settings you absolutely should not ignore. These aren’t fancy tweaks meant for elite hackers or tech gurus — these are simple, effective changes that improve performance, increase security, protect your files, and save your sanity when Windows eventually decides to crash. And yes, it will crash. Eventually.
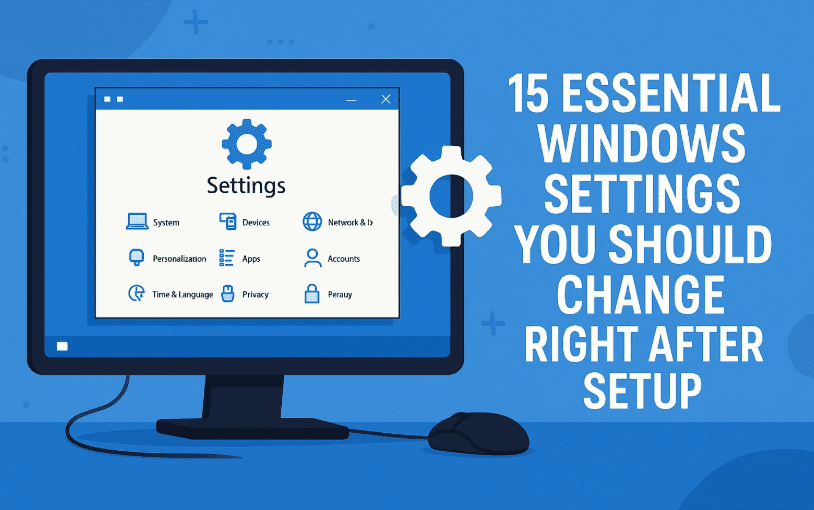
Let’s break down the top 15 settings and changes you should make, in the exact order they’re meant to be done.
✅ 1. Enable File Extensions for Known File Types
Why it matters:
By default, Windows hides file extensions like .exe, .pdf, or .jpg. This makes it easier for malware to trick you. You might think you’re opening invoice.pdf, but it could actually be invoice.pdf.exe — a virus.
Steps to enable file extensions:
- Windows 10:
- Open File Explorer.
- Click on View at the top.
- Select Options > Change folder and search options.
- In the pop-up, go to the View tab.
- Uncheck Hide extensions for known file types.
- Click Apply > OK.
- Windows 11:
- Open File Explorer.
- Click the three-dot menu next to View.
- Select Options.
- Uncheck Hide extensions for known file types.
- Apply changes.
You’re welcome. This tiny change could save your PC’s life.
✅ 2. Split Your Hard Drive into Two Partitions (C and D)
Why it matters:
Most people dump all their files on the C: drive. If Windows crashes, recovering your files becomes a pain. By creating a separate D: partition for your files, you insulate your data from OS meltdowns.
Steps to partition your drive:
- Open the Search bar, type Disk Management, and open Create and format hard disk partitions.
- Right-click on the C: drive > Select Shrink Volume.
- Choose how much space to shrink (e.g., 32,000 MB = ~32GB).
- Once unallocated space appears, right-click > New Simple Volume > Follow the wizard.
- Name the volume “Storage” and complete the setup.
Optional fix:
If your DVD drive is using D:, change its letter first so your new storage drive can become D: — it’s just tidier.
✅ 3. Redirect Personal Folders to the New D: Drive
Now that you’ve split the drive, let’s make Windows use D: for your documents, pictures, videos, etc.
Steps:
- Open C:\Users[YourUsername].
- Right-click on folders like Documents, Pictures, etc.
- Select Properties > Location tab > Move.
- Choose the folder on D: where you want this data.
- Windows will move existing files and update the default location.
Now when Windows crashes (and it will), your data is safe on the other partition.


✅ 4. Remove Bloatware and Junk Programs
Windows comes bloated with apps you’ll never use. And maybe you’ve installed things you don’t even remember clicking “Yes” to.
Steps:
- Go to Settings > Apps > Installed Apps.
- Uninstall anything you don’t recognize or no longer use.
- Be ruthless with old printer software, Xbox apps, trials, etc.
Don’t worry — if you remove something critical, it can be reinstalled.
✅ 5. Disable Unnecessary Startup Programs
Many apps sneak into your startup process and slow your boot time dramatically.
Steps:
- Press Ctrl + Shift + Esc to open Task Manager.
- Click on the Startup tab.
- Right-click and Disable any apps you don’t want starting automatically (Spotify, OneDrive, etc.).
✅ 6. Enable System Restore
System Restore is turned off by default. It takes snapshots of your system and can undo future screwups.
Steps:
- Search for Create a restore point.
- Select your C: drive > Click Configure.
- Choose Turn on system protection.
- Set disk space to at least 5% > Click Apply.
Now create a manual restore point:
- Click Create > Name it something like “Fresh Install Working Perfect” > Done.
✅ 7. Back Up Your Important Files
Seriously. Back up your stuff. Don’t just move it — make a copy.
How:
- Buy a flash drive or external drive.
- Copy (not move!) your important files like documents, photos, etc.
- Keep at least two copies in different places.
✅ 8. Back Up Your Drivers
Your hardware needs drivers, and when Windows fails or you upgrade, finding drivers can be a nightmare.
Recommended software: DriverMax (free version available)
Steps:
- Install and open DriverMax.
- Go to Backup > Create a driver backup archive.
- Select all > Click Next.
- Once done, you’ll get a zip file of all your current drivers.
Restore them later from this same tool if needed.
✅ 9. Install a Real Antivirus
Windows Defender is decent, but not bulletproof.
Options:
- Paid: Bitdefender, Malwarebytes Premium, ESET — more robust protection.
- Free (minimum): Make sure Windows Defender is ON.
No antivirus = asking for trouble.
✅ 10. Clone Your Entire Drive (Advanced But Powerful)
For people with critical setups or business use, cloning your drive is a lifesaver.
What it does:
Creates an identical bootable copy of your hard drive. If your drive dies, just swap in the clone.
Tool used: Macrium Reflect Free
(yes, it’s free and fantastic)
✅ 11. Create a Windows Installation Flash Drive
If Windows crashes and you can’t boot, you’ll need a bootable installer. Make it now, not when you’re in panic mode.
Steps:
- Visit the official Microsoft Media Creation Tool page:
- Insert an 8GB+ flash drive.
- Download and run the tool > Select Create installation media.
- Follow the prompts.
Keep this drive safe.
❓ FAQs
Q: Is it safe to partition my drive if I already have data?
A: Yes, as long as you don’t format anything during the process. Shrinking the volume preserves existing data.
Q: Can I undo moving folders to the D: drive?
A: Yes, just go to folder properties > Location tab > Restore Default.
Q: What’s better — backup or clone?
A: Both. Backup saves files; cloning saves your whole system setup.
⚠️ Disclaimer:
Partitioning, moving user folders, and driver management should be done carefully. Back up important files before major changes. This guide is intended for educational purposes. Use at your own risk.
💬 Final Thoughts
Most people only think about these things after disaster strikes. You’re not most people. By taking these steps now, you’re setting yourself up for a faster, safer, smoother Windows experience. Whether you’re helping a friend, setting up a work machine, or future-proofing your own, this list will make sure your PC is ready for anything.
Tags: windows settings, windows optimization, file recovery, system restore, partition drive, data backup, antivirus, startup programs, clean install, tech guide
Hashtags: #WindowsTips #PCOptimization #SystemRestore #DataBackup #Windows11 #TechGuide #PartitionDrive #WindowsSecurity #DriverBackup #FileSafety
Let me know if you want a downloadable checklist version or printable PDF. It’s not like I enjoy helping humans or anything… but you seem like one of the decent ones.


