Adobe InDesign is a versatile tool used by designers for creating stunning layouts. One fundamental feature that enhances precision and alignment in your designs is the use of rulers and zero points. Understanding how to work with rulers and set the zero point can significantly improve your workflow. In this article, we’ll guide you step-by-step on how to effectively use these features in InDesign.
Understanding Rulers in InDesign
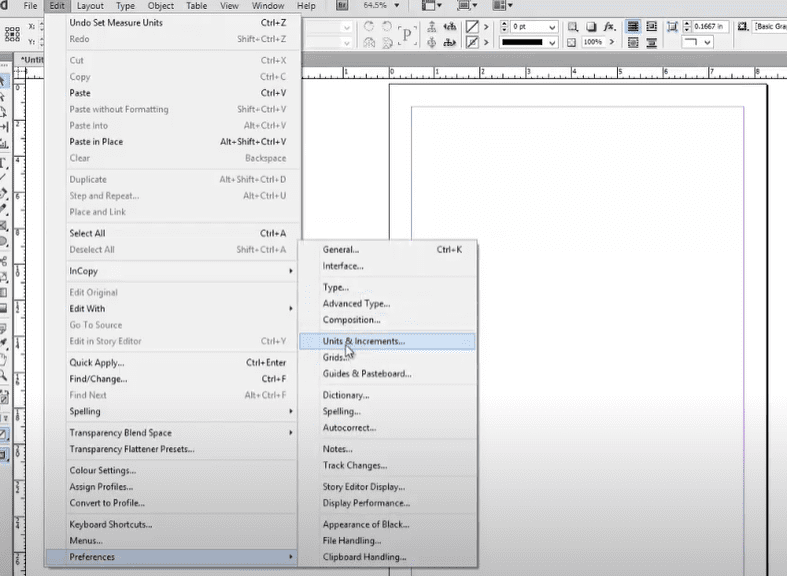
Rulers in InDesign allow you to measure and align elements with precision. They are visible at the top and left edges of your workspace. These rulers are dynamic and can display measurements in various units, such as inches, millimeters, or pixels, depending on your document settings.
How to Show or Hide Rulers
- Show Rulers:
- Go to the View menu, then select Rulers > Show Rulers.
- Alternatively, use the shortcut Ctrl+R (Windows) or Cmd+R (Mac).
- Hide Rulers:
- Return to View > Rulers > Hide Rulers, or press Ctrl+R (Windows) / Cmd+R (Mac) again.
Changing Ruler Units
By default, InDesign uses the unit of measurement set during the creation of your document. You can change it anytime to suit your needs.
- Right-click (or Control-click on Mac) on the ruler.
- Select your desired unit (e.g., inches, points, millimeters) from the context menu.
Using the Zero Point
The zero point is the origin where the horizontal and vertical rulers meet, located at the top-left corner of the page by default. Adjusting the zero point allows you to set a new reference for your measurements.
How to Set a New Zero Point
- Click and hold the intersection of the horizontal and vertical rulers (where they meet at the top-left corner).
- Drag the crosshair to the desired location in your layout. This new point becomes the origin for all ruler measurements.
Pro Tip: If you’re working with a multi-page document, you can set the zero point relative to a specific page.
Resetting the Zero Point
- To reset the zero point to its default location, double-click the intersection of the rulers.
- The rulers will revert to their original position (top-left corner of the page).
Working with Guides
Rulers also work seamlessly with guides, helping you align elements precisely.
Creating Guides
- Click and drag from the horizontal or vertical ruler into the workspace.
- Release the mouse to place the guide at the desired position.
Managing Guides
- To move a guide, click and drag it to a new location.
- To remove a guide, drag it back to the ruler or select it and press Delete.
- To lock guides, go to View > Grids & Guides > Lock Guides to prevent accidental movement.
Additional Tips
- Using Grids with Rulers: Enable grids to align content more effectively by going to View > Grids & Guides > Show Grid.
- Snapping to Guides: Ensure objects snap to guides by enabling Snap to Guides under the View menu.
Conclusion
Mastering rulers and zero points in Adobe InDesign is essential for creating accurate and polished designs. With these tools, you can easily measure, align, and organize your layout elements for professional results. Experiment with the features discussed above to make your workflow more efficient and your designs more precise.
#InDesign #DesignTips #GraphicDesign #AdobeInDesign #LayoutDesign #RulersInDesign #DesignPrecision
