When working with Adobe InDesign, understanding various paste commands such as Paste, Paste Without Formatting, Paste in Place, and Paste Into can significantly improve your workflow. These commands cater to different needs, whether you’re working with text, graphics, or a combination of both. This blog post will guide you step-by-step on how to use these commands effectively.

Understanding the Paste Commands
1. Paste
This command is the standard way to insert copied content into your document. When using Paste, the formatting and style of the copied content remain intact.
2. Paste Without Formatting
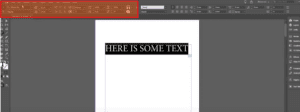
This command allows you to paste text while stripping it of its original formatting. Instead, it adopts the formatting of the destination paragraph frame or text style in InDesign.
3. Paste in Place
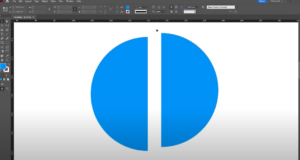
This option is particularly useful for maintaining the exact position of an object or text within a document. It pastes the content at the same location from where it was copied.
4. Paste Into
This command allows you to insert content into a specific frame, enabling flexible placement and resizing within that frame. It’s often used with graphics rather than text.
Step-by-Step Guide to Using These Commands
Step 1: Create a New Document
- Open InDesign.
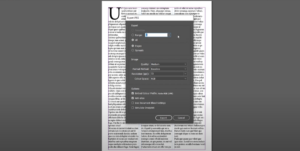
- Create a new document by navigating to File > New > Document.
- Adjust settings such as margins, bleed, and size according to your project needs.
Step 2: Copying and Pasting Text
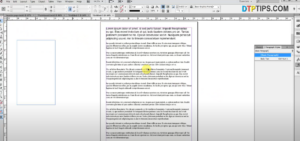
- Insert or open a text file in InDesign.
- Select the text you want to copy using the Type Tool (T).
- Use Ctrl+C (Cmd+C on Mac) to copy the text.
- Click on the desired location and use:
- Ctrl+V (Cmd+V on Mac) for Paste.
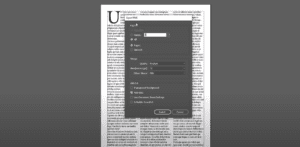
- Shift+Ctrl+V (Shift+Cmd+V on Mac) for Paste Without Formatting.
Step 3: Using Paste in Place
- Copy any object or group of objects using Ctrl+C (Cmd+C on Mac).
- Navigate to the desired page or location in your document.
- Use Ctrl+Shift+Alt+V (Cmd+Shift+Option+V on Mac) to paste the object at the exact position where it was copied.
Step 4: Using Paste Into
- Create a graphic or text frame using the Rectangle Tool (M).
- Copy an object or graphic using Ctrl+C (Cmd+C on Mac).
- Select the target frame, then go to Edit > Paste Into.
- The copied object is now placed inside the frame.
- You can resize and move the content within the frame as needed.
Key Differences Between Commands
| Command | Usage |
|---|---|
| Paste | Retains the original formatting or position. |
| Paste Without Formatting | Strips original formatting and applies the destination’s formatting. |
| Paste in Place | Maintains the copied content’s exact position in the document. |
| Paste Into | Places content within a specific frame, commonly used for images and graphics. |
Pro Tips for Better Workflow
- Use Paste Without Formatting for maintaining consistency in paragraph styles when copying text from external sources like Word files.
- Paste in Place is ideal for duplicating objects across pages while maintaining alignment.
- Use Paste Into to create dynamic layouts by embedding graphics within frames.
Conclusion
Mastering these paste commands in Adobe InDesign allows you to work efficiently with text, graphics, and layouts. By using the right command for the right situation, you can streamline your design process and maintain consistency across your projects.
#AdobeInDesign #DesignTips #GraphicDesign #InDesignTutorial #CreativeWorkflow #TextFormatting #GraphicTools

