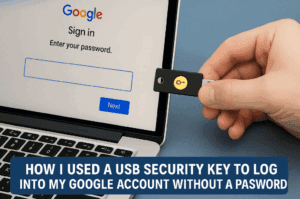
Hey friends, I recently took a deep dive into Google account security, and let me tell you—it’s more important than ever to protect your personal data. From saved passwords to recovery options and the latest passkey system, I went through all the steps myself. If you’ve ever felt overwhelmed about how to secure your Google account, this guide is for you.
In this blog, I’ll walk you through everything I’ve done to make sure nobody except me can access my Google account—even if they get my password somehow. So let’s get started, step by step.
🔍 Step 1: See Which Passwords Are Saved in Google
We all save passwords in our browser, right? But have you ever wondered how many of those are actually saved to your Google account?
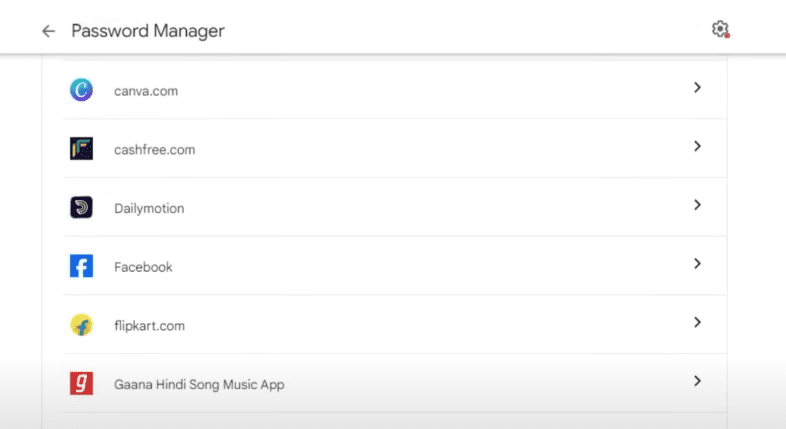
Under the Security tab, clicked “Saved Passwords.”
Boom—there it was. A full list of saved passwords for websites and apps.
Honestly, it was eye-opening. I found passwords I had saved on my TV, phone, and even my old tablet.
🔄 Step 2: How I Changed My Google Password
Changing your password regularly is good practice. Here’s how I did it:
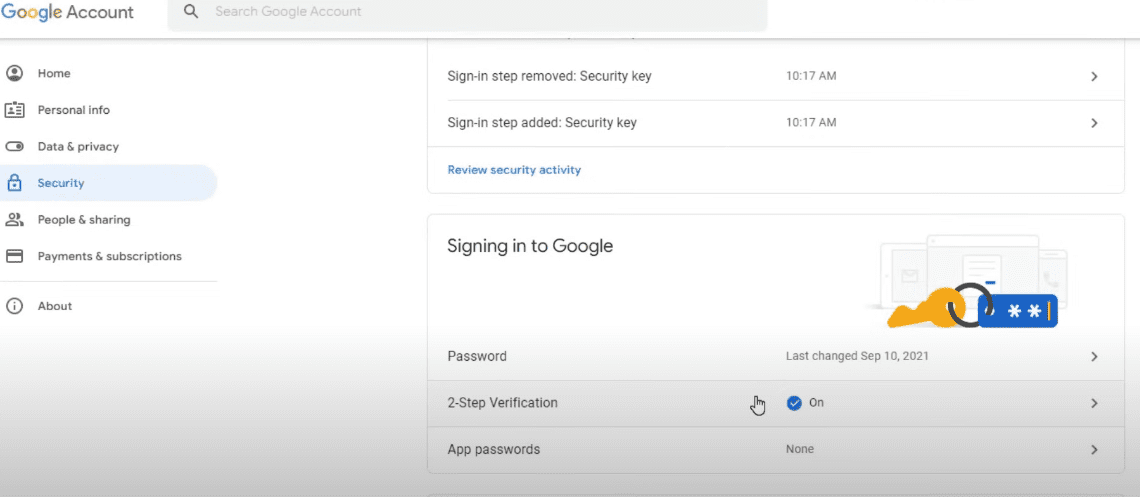
Went to Google Account > Security.
Scrolled down to “How you sign in to Google”.
Clicked on Password, entered my PIN, and updated it.
Google suggests using:
At least 8 characters
Avoiding the same password you use on other sites
A mix of letters, numbers, and symbols
💡 Tip from me: Don’t overthink it—just make it unique and memorable (but not guessable).
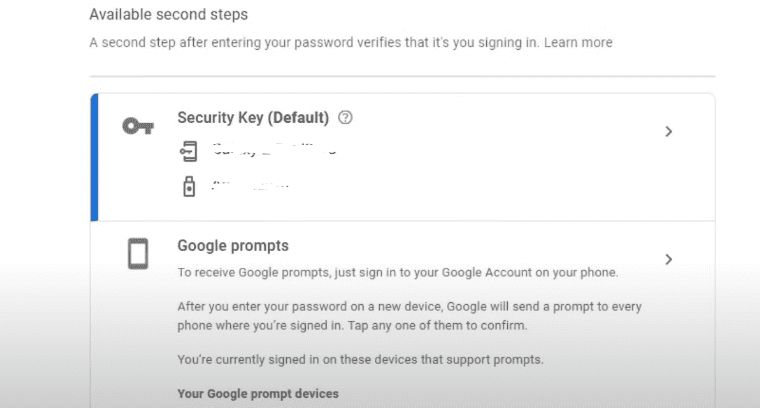
✅ Step 3: Turning On 2-Step Verification
This is the most important thing I did for my Google security. 2-Step Verification means even if someone knows your password, they can’t log in without a second step.
Printed them out and saved them in a secure place.
❗ Important: These codes are one-time use. After using them, generate new ones right away.
📱 Step 5: Using the Google Authenticator App
For added security (and in case I don’t have my USB key), I use the Google Authenticator app on my phone. It gives me 6-digit codes that refresh every 30 seconds—even without internet.
✅ Now, no more typing passwords. I just tap my finger and I’m in.
🔄 Lost Your Phone or Security Key? Use a Backup Code!
If your phone is gone or you lose your Authenticator app, don’t panic.
When prompted to verify during login:
Click Try another way.
Select Use a backup code.
Enter one of your printed backup codes.
✍️ Final Thoughts
If you think securing your Google account is complicated—trust me, it’s not. I just did all of this in one day, and now I know my data is safe, and I won’t get locked out either.
Whether you’re a casual user or a creator, these steps can save you from serious trouble later. Don’t wait for your account to get hacked. Do it now!
Tags:
google password manager, secure google account, 2-step verification google, security key usb setup, authenticator app backup, passkey google, backup code recovery, google account safety tips, protect gmail account
Rakesh Bhardwaj is a seasoned editor and designer with over 15 years of experience in the creative industry. He specializes in crafting visually compelling and professionally polished content, blending precision with creativity. Whether refining written work or designing impactful visuals, Rakesh brings a deep understanding of layout, typography, and narrative flow to every project he undertakes.