Have you ever tried to update your Google Chrome browser, only to be met with a frustrating error message? It’s a common issue that can pop up when you least expect it. One moment, you’re enjoying your online experience, and the next, you see a message that says your update failed. This isn’t just an inconvenience; it can be a serious security risk if your browser isn’t patched with the latest updates.
In this detailed article, we’ll walk through a specific, highly effective method to solve a common Google Chrome update error. We’ll explore why this problem happens in the first place, and then we’ll dive deep into a step-by-step solution that involves tweaking a crucial service in your Windows operating system. So, let’s roll up our sleeves and get this sorted out once and for all.
Why Keeping Your Browser Updated is So Important
Before we jump into the fix, let’s take a moment to understand why browser updates are so critical. Think of your web browser as your front door to the internet. Just like you’d lock your front door to keep intruders out, you need to keep your browser updated to protect yourself from online threats.
Each new update for Google Chrome brings a host of benefits that are vital for a secure and smooth online experience:
- Security Patches: Hackers and cybercriminals are always looking for new vulnerabilities, or “holes,” in software. Browser updates contain critical security patches that fix these vulnerabilities, closing the doors on potential attacks. By not updating, you leave yourself exposed to malware, phishing scams, and other malicious activities.
- Performance Improvements: Developers are constantly working to make browsers faster and more efficient. Updates often include optimizations that can speed up page loading, improve video playback, and reduce memory usage, giving you a smoother browsing experience.
- New Features: From new user interfaces to improved privacy controls and developer tools, updates often introduce new features that enhance functionality and make your online life easier.
Now that we understand the gravity of the situation, let’s get down to business. So far, we’ve identified the problem and its importance. Let’s move on to the next step, which involves getting into the heart of your computer’s services.
Identifying and Diagnosing the Problem
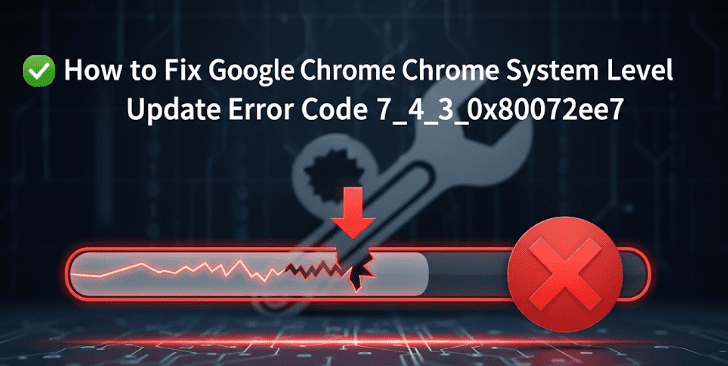
When you see a “Google Chrome update failed” error, it’s often a sign that something is preventing the update from completing. The problem can be caused by various issues, such as a corrupt installation, conflicts with other software, or an unstable internet connection. However, one of the most frequent culprits is a disabled or misconfigured Windows Service.
As you might have noticed from the screenshot, your Google Chrome browser isn’t updating, and an error message is showing up. This is a clear indicator that the automatic update process is failing. When a browser update is initiated, it relies on a specific background process to download and install the new files. In the case of Google Chrome, this is handled by the Google Update Service.
If this service is not running or is disabled, the update process will fail to connect to Google’s servers, download the update files, or install them correctly.
The Solution: Enabling the Google Update Service
The good news is that the solution to this specific problem is straightforward. We just need to make sure the Google Update Service is correctly configured and set to run automatically. This process involves navigating to a specific part of your computer’s settings called “Services.”
So, let’s get our hands dirty and fix this issue with a clear, step-by-step approach.
Step 1: Close Google Chrome
Before we make any changes, the very first thing you need to do is completely close your Google Chrome browser. Make sure all windows and background processes are shut down. This prevents any conflicts while we are making changes to the related service.


Step 2: Accessing Your Computer’s Services
Now that the browser is closed, we can move on to the next step. We’re going to use the Windows “Services” management console, which is where you can view and control all the background applications and processes running on your computer.
- Right-click on “This PC”: On your desktop, find the “This PC” icon and right-click on it.
- Select “Manage”: From the context menu that appears, select the “Manage” option. This will open the Computer Management window. You might need administrator privileges to do this.
- Navigate to “Services and Applications”: In the left-hand navigation pane of the Computer Management window, you’ll see a section called “Services and Applications.” Expand this section by clicking the arrow next to it.
- Open “Services”: Once expanded, you will see the “Services” option. Click on it. A new list of all the services running on your computer will appear in the main window.
You have now successfully reached the control panel for all the services on your computer. This is where we will find the specific service that’s been causing all the trouble.
Step 3: Finding and Configuring the Google Update Service
The list of services is extensive, so finding the right one can feel a bit like searching for a needle in a haystack. But don’t worry, there’s a simple shortcut to make this much easier.
- Use the “G” Key: Click anywhere on the list of services and then press the letter G on your keyboard. This will immediately jump you to the first service that starts with the letter ‘G’.
- Locate the Services: You’ll likely see one or two services related to Google Update. Look for “Google Update Service (gupdate)” and “Google Update Service (gupdatem)”.
- Check the “Startup Type”: Look at the “Startup Type” column next to these services. If it says “Disabled,” you have found the cause of your problem.
- Modify the Startup Type: Right-click on the “Google Update Service (gupdate)” and select “Properties.”
- Change the Setting: In the new window that pops up, find the “Startup type” drop-down menu. Change it from “Disabled” to “Automatic.”
- Apply and Restart: Click the “Apply” button, and then click “OK.” You can do the same for the second service, “Google Update Service (gupdatem),” to ensure both are set to “Automatic.”
By changing the startup type to “Automatic,” you are telling your computer to automatically start this service whenever you boot up. This ensures that when Google Chrome needs to update, the necessary service is already running and ready to go.
The Final Step: Updating Your Browser
Now that we’ve successfully re-enabled the Google Update Service, it’s time to test our fix. This is the moment of truth where we see all our efforts pay off.
- Re-open Google Chrome: Launch Google Chrome again.
- Open the Settings: Click the three-dot menu icon in the top-right corner of the browser window.
- Go to “About Chrome”: From the drop-down menu, click on “Help,” and then select “About Google Chrome.”
Upon arriving at the “About Chrome” page, the browser will automatically start checking for updates. Since the Google Update Service is now enabled, it should connect to the servers without any issues and begin downloading and installing the latest version of Chrome. You will see a progress bar indicating the update is being downloaded. Once it’s complete, Chrome will prompt you to relaunch the browser to finalize the installation. After the restart, you will see a message confirming that your browser is up to date.
Congratulations! You’ve successfully fixed the update error and secured your browser.
Questions You Might Have
Even after following the steps, you might have some lingering questions. Let’s address a few of them here.
Q: My “Google Update Service” was already set to “Automatic.” What should I do?
A: If the service was already set to “Automatic,” then a different issue is likely preventing the update. In this case, you can try restarting the service manually. In the “Services” list, right-click on the “Google Update Service” and select “Restart.” If that doesn’t work, consider these other troubleshooting steps:
- Temporarily disable your antivirus software to check for conflicts.
- Run the Chrome Cleanup Tool to remove any malicious software.
- Try reinstalling Chrome by downloading the latest version from the official website.
Q: Why are there two Google Update Services?
A: The gupdate service is typically responsible for checking for and downloading updates. The gupdatem service, on the other hand, is often used to manage updates when there are multiple user accounts on the same computer, ensuring updates are installed correctly for all users. Setting both to “Automatic” ensures a smoother update process.
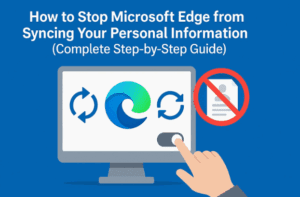
Q: Will this solution work for other browsers like Microsoft Edge or Brave?
A: While this specific fix targets the Google Chrome update service, other browsers built on the Chromium platform, like Brave or Vivaldi, may have their own update services in the same location. The general principle—ensuring the update service is running and not disabled—can be applied to them as well. However, the service name will be different (e.g., “Brave Update Service”).
Q: Is it safe to change these settings?
A: Yes, it is generally safe to change the “Startup type” of the Google Update Service to “Automatic.” This is a standard setting. However, you should be careful not to make changes to other services unless you know what they do, as this could lead to system instability.
A Final Thought
Navigating a technical issue can be a bit daunting, but hopefully, this detailed guide has given you the confidence and the tools to solve this common problem. Remember, a well-maintained browser is the cornerstone of a safe online life. By taking the time to fix this issue, you’ve not only solved a problem but also taken a proactive step to protect yourself from future threats.
For more information and to download the latest version of Google Chrome, you can visit their official website here: https://www.google.com/chrome/
Disclaimer: This article is intended for informational and educational purposes only. Modifying system services and files should be done with caution. While these steps are generally safe, we are not liable for any issues that may arise from following this guide. Always back up important data and, if you are not comfortable making these changes, seek assistance from a qualified professional.
Tags
Google Chrome, Chrome update, update error, browser fix, update failed, Windows services, troubleshooting, tech support, computer maintenance, security, software update
#GoogleChrome #ChromeUpdate #UpdateError #BrowserFix #TechSupport #Windows #Troubleshooting #ComputerTips #OnlineSafety #SoftwareUpdate