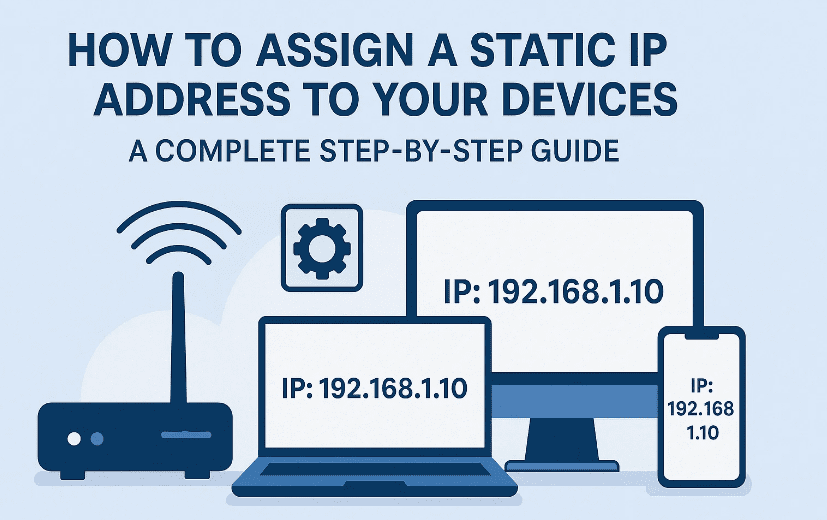
When you connect your phone, laptop, or smart TV to your home Wi-Fi, your router automatically gives it an IP address. This happens using something called DHCP (Dynamic Host Configuration Protocol).
Most of the time, you don’t need to think about this process — your router just hands out temporary addresses as devices join and leave the network. But there are cases where this flexibility can actually cause problems. For example, if you’re hosting a game server, setting up a home security system, or managing a shared printer, you’ll want those devices to always have the same IP address.
That’s where static IP addresses come in. In this article, we’ll walk through:
- Why you might need a static IP address.
- The two ways to assign one.
- How to find your device’s MAC address (a key requirement).
- How to configure static IPs through your router.
- Best practices to avoid conflicts and keep your network healthy.
Along the way, we’ll look at practical examples, technical details like DHCP pools and subnet masks, and even answer common questions beginners ask. By the end, you’ll be confident in setting up static IP addresses in your home or office.
🔍 Why Would You Need a Static IP Address?
Before diving into the “how,” let’s clarify the “why.” DHCP makes life easier by automatically rotating IP addresses. But sometimes, a constantly changing address can break important functions.
Here are some situations where a static IP is critical:
- Hosting online gaming sessions
If you’re running a game server and using port forwarding, the server’s IP must remain constant. If the IP keeps changing, your forwarded ports won’t point to the right device. - Running a website or local server
If you have a NAS (Network Attached Storage) or a home server hosting a site, static IP ensures visitors (or apps) can always reach it reliably. - Home security systems
Many security cameras rely on fixed IPs. If their address changes, your monitoring software may lose connection. - Shared network printers
In offices, printers are often accessed via IP. If the printer keeps moving around the network, everyone trying to print will encounter errors.
Think of it this way: if the device provides a service that other people or systems connect to, you want that IP locked down.
🛠️ Two Ways to Assign a Static IP Address
When it comes to configuring static IPs, there are two main methods:
- On the device itself
You can dive into your device’s network settings and manually enter the IP, subnet mask, and gateway. This works but can be tricky to manage across many devices. - On the router (recommended)
A cleaner option is to reserve an IP address through your router. This way:- You see all connected devices in one place.
- You avoid accidental duplicates.
- You can manage everything centrally.
For this tutorial, we’ll focus on the router method, since it’s easier for most people and provides better oversight of your network.
🖥️ Step 1: Identify the Device and Its MAC Address
Before your router can “tie” a static IP to a device, it needs to know the device’s MAC address.
The MAC address (Media Access Control) is like a fingerprint — a permanent hardware identifier unique to your device’s network card. This is how your router knows, “Okay, this IP should always belong to this device.”


You can usually find a device’s MAC address in one of three ways:
- Check the sticker: Many devices (printers, cameras, routers, etc.) have a label with the MAC address printed.
- Device settings:
- On Windows, open Settings → Network & Internet → Wi-Fi/Ethernet → Hardware Properties to see the physical address.
- Note that Wi-Fi and Ethernet have separate MAC addresses.
- Router interface: If the device is already connected, you can often see it listed in your router’s client table along with its MAC address.
💡 Pro tip: Write down the MAC addresses of your permanent devices (PC, NAS, printer, cameras) in a spreadsheet. It saves time and avoids confusion later.
⚙️ Step 2: Access Your Router Settings
To configure static IPs, you’ll need to log in to your router’s admin panel.
- Open a browser on a device connected to your network.
- Type your router’s IP address (often
192.168.0.1or192.168.1.1). - Enter your admin username and password.
If you don’t know these, check your router’s manual or look for a label on the back.
Once inside, look for sections like LAN settings, DHCP, or Address Reservation. The exact layout varies depending on brand (TP-Link, Netgear, ASUS, etc.), but the principles remain the same.
📊 Step 3: Understand Your DHCP Pool and Subnet Mask
Here’s where planning comes in. Routers assign IPs within a DHCP pool (a range of addresses reserved for automatic assignment).
For example:
- Router IP:
192.168.0.1 - Subnet mask:
255.255.255.0 - DHCP pool:
192.168.0.100 – 192.168.0.249
This means:
- The first three numbers (
192.168.0) stay constant. - The last number can range from 2 to 255.
- DHCP will automatically hand out anything between
.100and.249.
👉 To avoid conflicts, your static IP should be outside this pool. For instance, .50 is safe, .150 is not (because DHCP might try to assign it).
This separation ensures no two devices fight over the same IP.
📝 Step 4: Reserve a Static IP for Your Device
Now that you know the MAC address and available IPs, it’s time to lock it in.
- Go to Address Reservation (sometimes under Advanced → LAN/DHCP).
- Click Add New.
- Enter:
- MAC address (from Step 1).
- IP address (choose outside DHCP range, e.g.,
192.168.0.50). - Description (e.g., “Laptop Wi-Fi”).
- Save and apply changes.
Some routers may require colons vs dashes for the MAC format. Adjust accordingly.
At this point, your router will always give that device the same IP whenever it connects.
🔄 Step 5: Restart the Device
Many devices need a quick reboot to pick up the new static IP.
- Restart your laptop, printer, or camera.
- Reconnect to Wi-Fi (or Ethernet).
- Verify the new IP by checking the device’s network details.
If everything went well, you’ll now see the static IP you reserved.
🧩 Best Practices for Managing Static IPs
So far, so good! But let’s take a step back and think about long-term network management.
Here are some tips:
- Keep a record: Use a spreadsheet to log which device has which static IP. This avoids confusion later.
- Group logically: For example, keep all cameras in the
.20 – .29range, printers in.30 – .39, servers in.50 – .59, etc. - Don’t overdo it: Only assign static IPs where necessary. Too many manual entries can create more work than DHCP solves.
- Check duplicates: Accidentally assigning the same static IP twice causes major connectivity issues.
❓ Frequently Asked Questions (FAQs)
Q1. Can I just assign a static IP on the device itself instead of the router?
Yes. You can go into your device’s network settings and manually configure IP, subnet, and gateway. But if you have multiple devices, it’s harder to manage. Router reservations are cleaner.
Q2. What happens if I assign a static IP inside the DHCP range?
You risk an IP conflict. Your router might assign that same address to another device, causing one or both to lose connectivity.
Q3. Will using static IPs make my internet faster?
Not directly. Static IPs improve reliability for services like gaming, servers, and printers, but they don’t increase download/upload speeds.
Q4. Is this the same as a public static IP from my ISP?
No. Here we’re talking about private static IPs inside your home network. A public static IP is purchased from your Internet Service Provider so your house always has the same outward-facing address.
Q5. What if I need to reset my router?
Address reservations may be wiped if you factory reset. That’s why keeping a record of your static IP assignments is a good habit.
⚠️ Disclaimer
Changing your router settings can affect your entire home network. Always note down original settings before making changes. If you’re unsure, consult your router’s manual or your ISP’s support team.
📌 Conclusion
Assigning a static IP address isn’t just a technical curiosity — it’s a practical way to keep your home network stable, secure, and service-friendly. Whether you’re hosting a Minecraft server, setting up a NAS, or managing security cameras, static IPs ensure those devices are always right where you expect them.
By following the steps in this guide — identifying your device, finding the MAC address, checking the DHCP pool, and reserving an IP in your router — you’ll avoid conflicts and keep everything running smoothly.
Remember: don’t assign static IPs to everything. Use them where consistency matters most. With a bit of planning and organization, your network will be more reliable and easier to manage.
Tags
static ip, dhcp, router settings, networking basics, ip address, mac address, port forwarding, network troubleshooting
Hashtags
#Networking #StaticIP #HomeNetwork #RouterSetup #TechGuide #IPAddresses #Cybersecurity


